Several folks have asked me to describe how I go about making my sealed enclosures for the speakers I use in my sound installs, so for those of you who are interested, here goes a basic tutorial.
The process is pretty simple. I simply construct a box around the speaker in question, using either styrene or lead sheet (I prefer lead sheet because it adds weight and because lead is so inert, but for my diesel installs, I used styrene). In general, the thicker the material you can use, the better; the best speaker enclosures will not have any resonances, which means the stiffest enclosure you can make. For my diesels, however, space dictated that the enclosure add no more than 1mm to the width of the speaker I used (the Knowles Fox, which is 9mm wide), so I used .020 styrene.
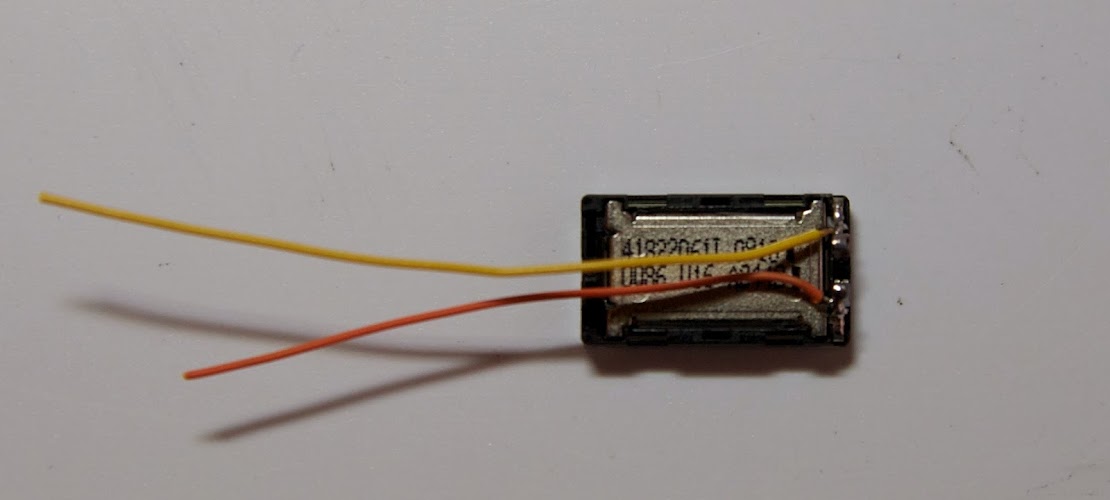
The first photo shows the basic materials: the speaker and two strips of styrene cut from a sheet to the depth you want. For my diesel installations, I was limited to 6mm of depth overall (even that required milling down the frame just a bit). So I cut the strips to 5.5mm; when I add the bottom to the enclosure (also of .020 styrene), the overall depth comes out to 6mm. You will also need some gel CA cement; to attach the bottom, I used regular liquid plastic cement.

The first step in the construction process is to "rough up" the sides of the speaker to provide better adhesion for the CA cement. I do this by rubbing the sides and ends of the speaker across some 200-grit sandpaper (I also lightly sand the styrene strip to give it more texture, too). This photo compares the texture of the stock speaker (top) to the one I have sanded lightly (bottom).

Then, I solder wires to the speaker pads. For this, I use scraps of wire I've cut off from prior decoder installs; thinner is better - the wire I used in this one is probably 32-gauge or smaller.

Now it's time to start the actual construction of the box. I put a thin bead of gel CA across one of the long sides of the speaker, towards the top edge, and then press the styrene strip on the edge. I usually put the speaker face-down on my work table, then press the strip along the edge to make sure the top of the strip is flush with the top of the speaker - but you'll have a few seconds to adjust before the CA sets. You want the strip to overlap the short edge of the speaker just a bit, so that you can later cut that off flush for the short edges of the box.

Let the CA dry for a few minutes, then trim the strip flush with the short edge of the speaker, and repeat on the other side:

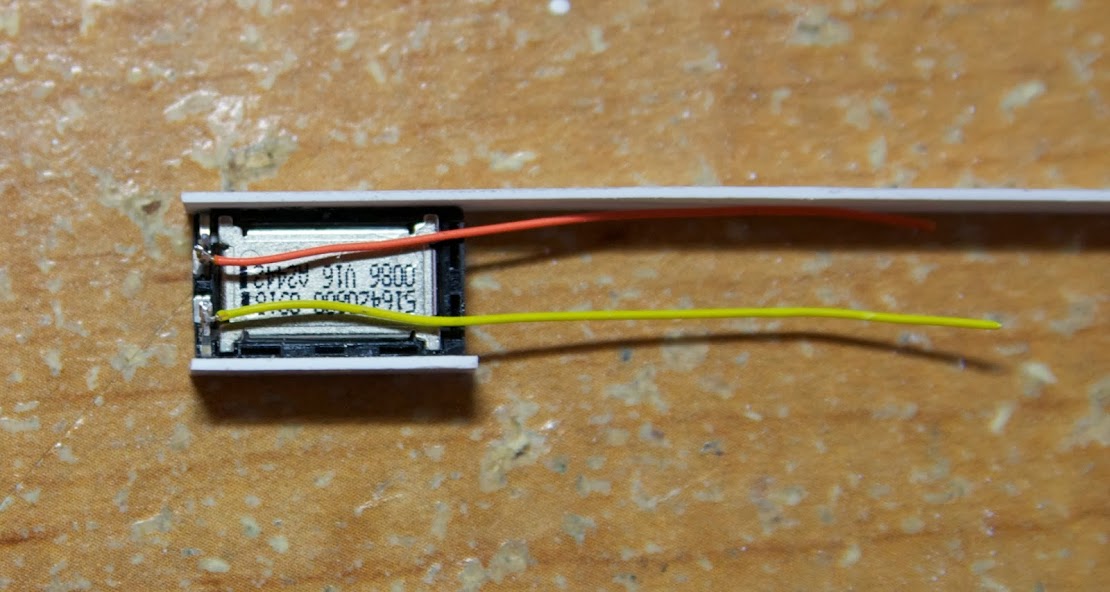
When you're done with the two long sides, things should look something like this:

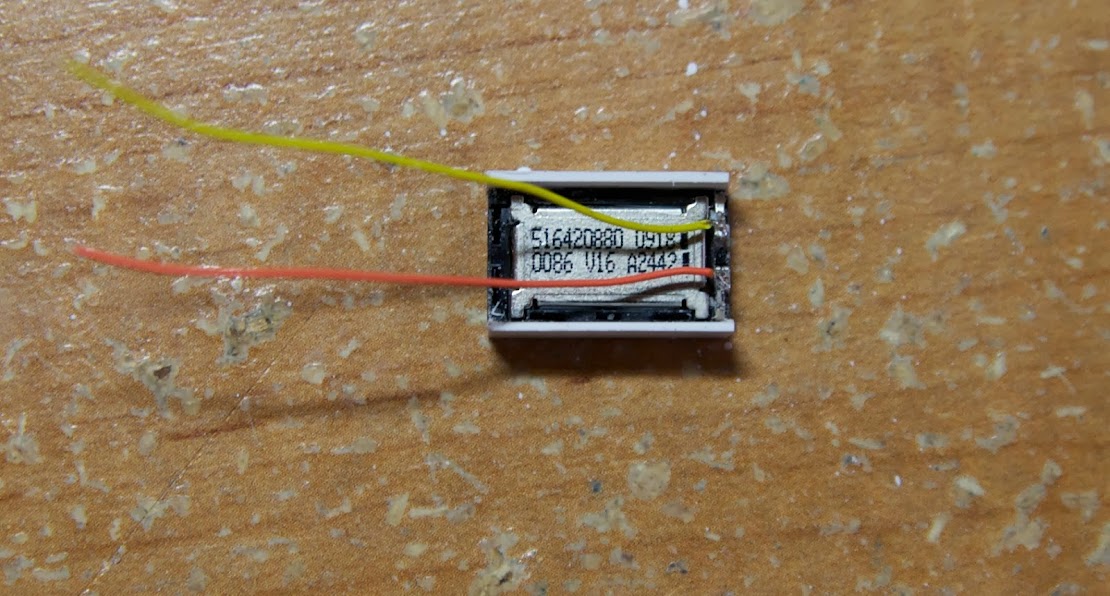
Now do the short ends: you want the short ends to overlap the styrene sides of the long ends in order to create an air-tight seal. Put a bead of gel CA along the side of the speaker and the edges of the long side styrene strips, then press a strip of styrene to complete one side. Make sure to overlap the long sides a bit to make sure everything is sealed up tight:

Let the CA dry, trim the ends of the strip flush with the long sides, and repeat for the other side. You now have a box around your speaker. But what about the wires?
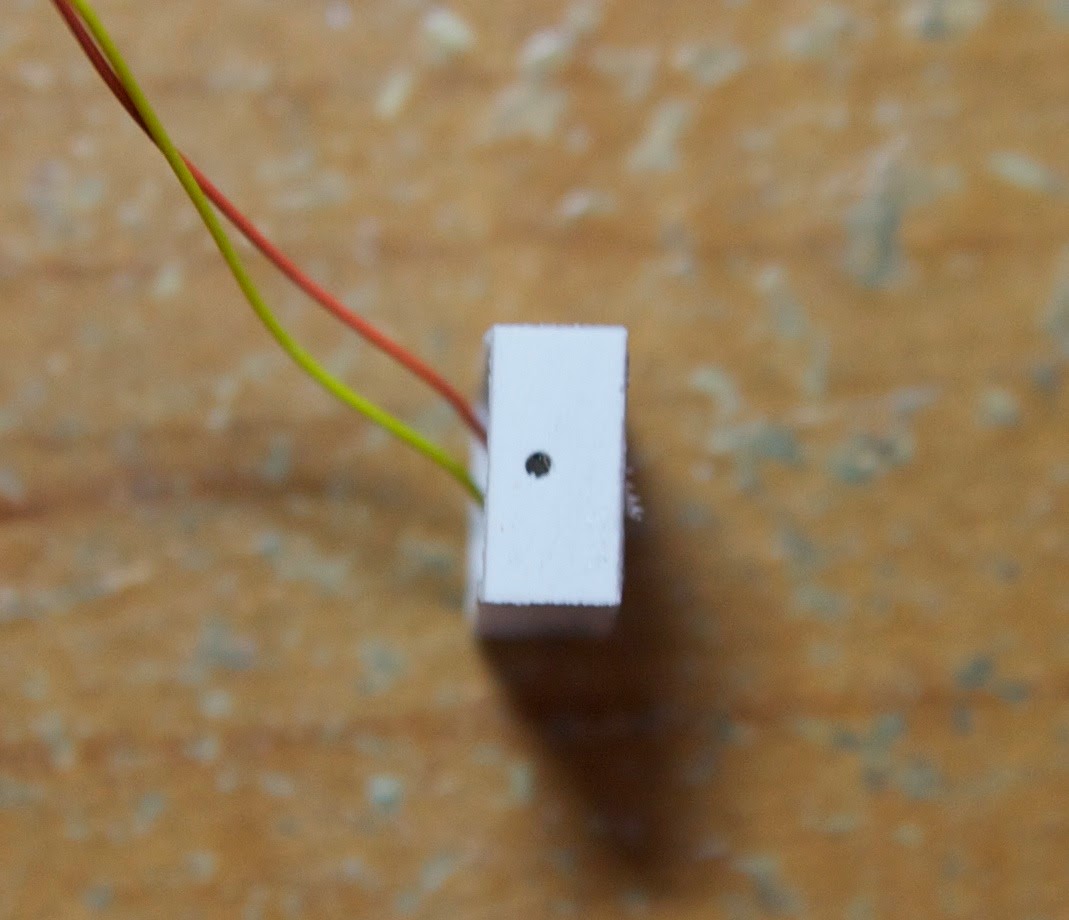
Easy - drill a small hole (as small as you can use and still get the wires through) on the short side of your box:

Then feed the wires through, and put a dab of gel CA around the inside of the hole to seal it. When you are done, here's what you've got:

Let everything dry for 10 minutes. Now attach the bottom. If you are using styrene, this is pretty simple: put the speaker on the styrene sheet, use a brush to brush liquid styrene cement around all the edges, and let dry:

When dry, cut away the rest of the bottom sheet, and you have a nice, air-tight speaker enclosure:

Here's the final product:

The whole process should take about 30 minutes.
John C.