A final look at the trio of "blinkers" just completed, and ready to ship back home to Michigan...


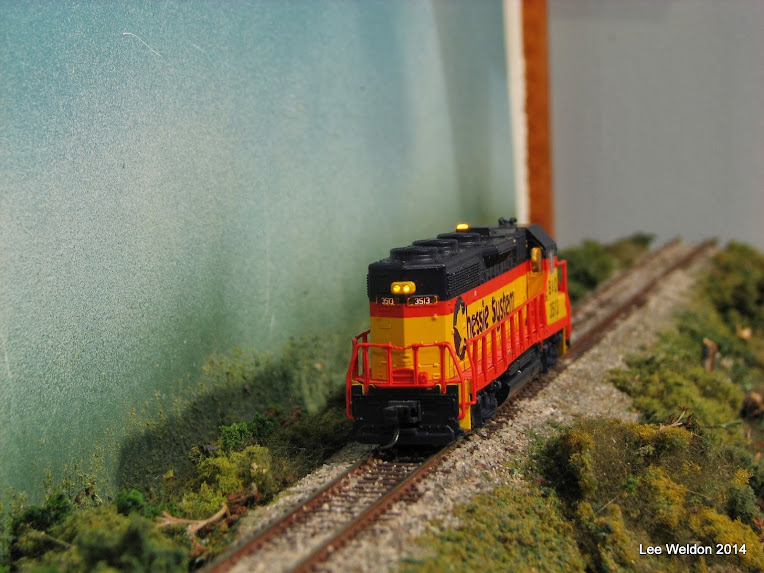
And, per Chessie practice, the beacon on the slant of the cab roof.

And here they are merrily blinking away.

Here's how we made it go...

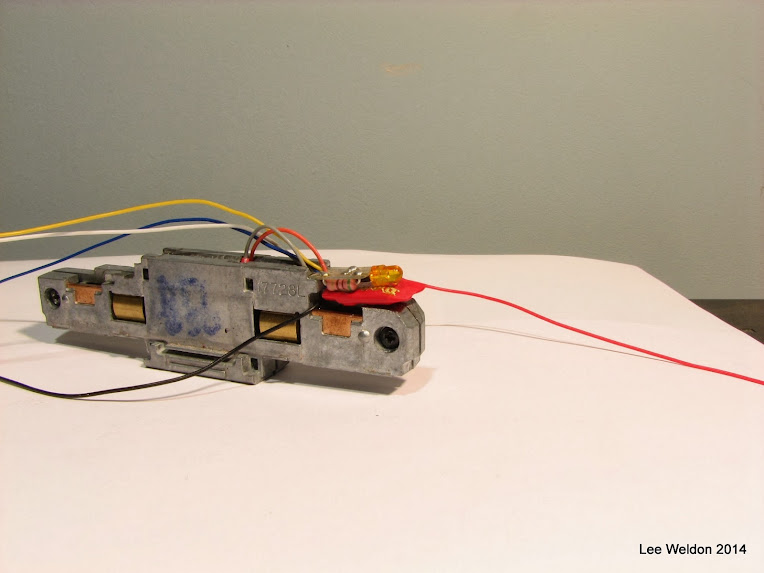
I ground out the usual frame bits from the old A/K GP35 frame, taking about an 1/8th inch off the back shelf, but leaving the lightboard slot intact.

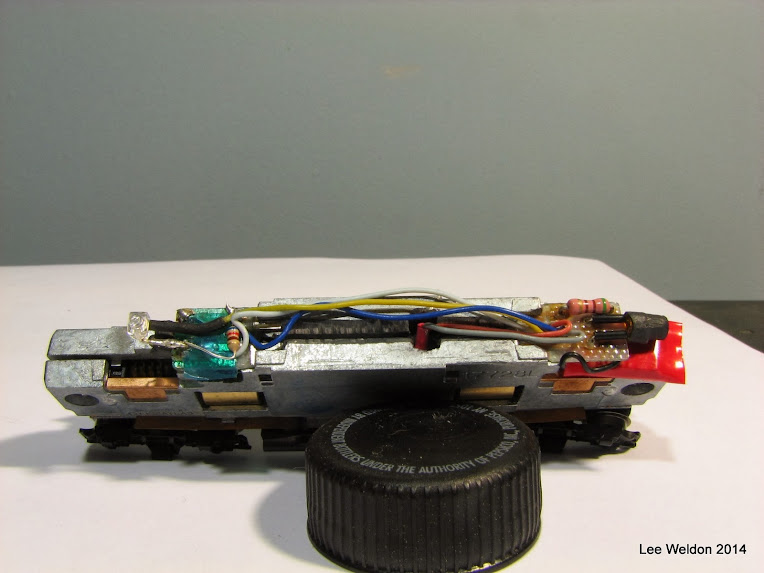
The decoder lives under the rear light board, which is out of a Life Like C424, and has a nice dull yellowish white LED. The owner advised that these are all destined to be trailing units, so I thought a dim rear light that's always on would be fine. The lightboard is unmodified, and collects power from the frame to light the LED, no connected to the light circuits of the decoder. I used the contact pads of the light board to attach decoder's track power leads. I install the lightboard upside down so the LED and resistor are on top to provide extra clearance underneath for the decoder. Since the AC track power doesn't affect the polarity of the LED, it stays lit in both directions.

This image shows the assembly on the track. It's important to grind out enough frame to let the light board snug down to clear the shell.
For the front board, this is where the magic happens.

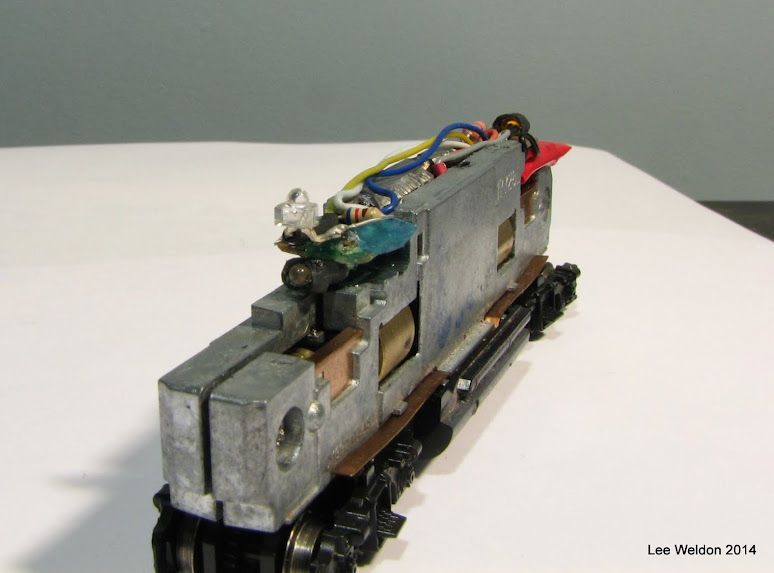
Here you see the stock light board, with a new warm white LED (1.5 mm) underneath, and a 1.5mm yellow installed on top. It appears clear in the picture, but lights up bright yellow.

I filed through the printed circuits between the pick up pads of the light board and the solder contacts, isolating the light circuit from the frame. I attached a second resistor to the same contact point as the factory resistor, then connected the blue wire to that. The white wire then leads to the front headlight, and the yellow wire to the beacon.
The last step is to paint the underside and sides of the beacon LED black to prevent it from "leaking" into the numberboards and cab, and to put black shrink tubing on the headlight LED to focus it forward.
I then cut a rectangular hole in the cab roof to accept the full body of the LED, then "puttied" it in with some white glue, and painted the joint black to prevent light leaks around it. Once that set, I sanded the joint and touched up the roof paint. I figured that white glue would be a suitable caulk since it can be softened with water should the cab need to be removed for maintenance.


I'm glad I finally have these off my desk. It was a fun project to design and build. Thanks to everyone who had a hand in helping me program the lighting effects.