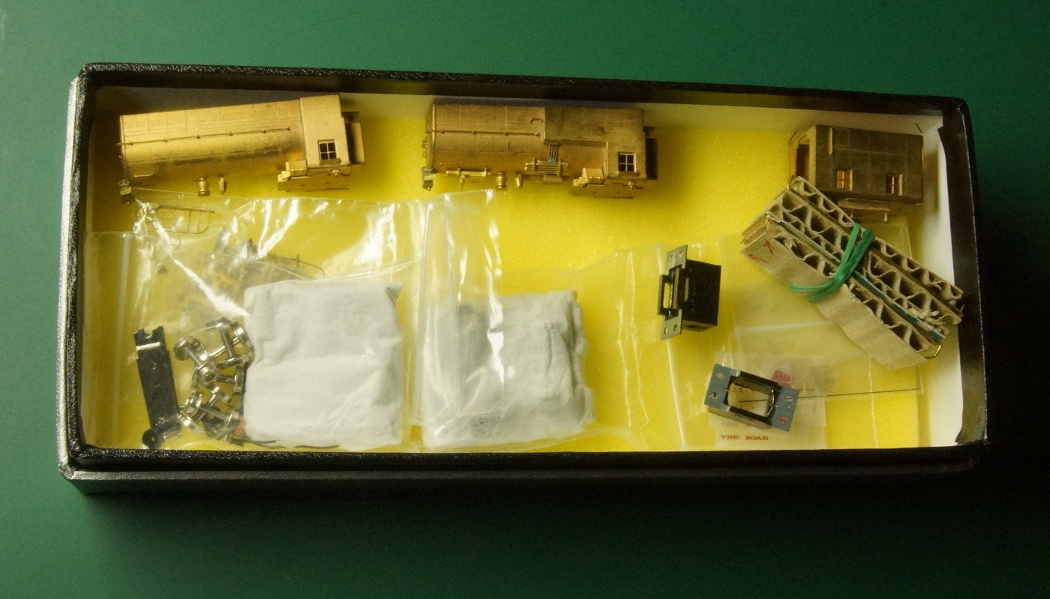
OK, I have a new brass loco in kit form. Unfortunately it is not a "shake the box" kit. Some modeling skill is required to assemble.
First, we are going to focus on the front truck assembly. This is an idler truck that picks up electricity from the other rail (from the main frame which picks up juice from a rail).
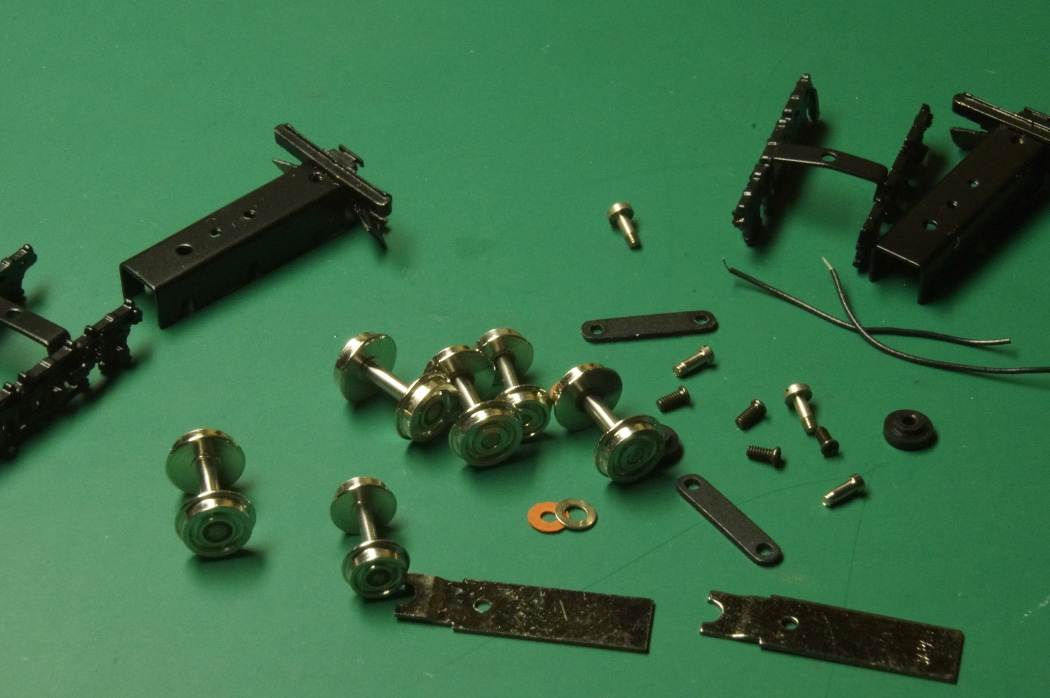
The very FIRST change I'm making to to REDESIGN the electrical transmission. KMT designed this model just like the NJCB EP-2 from 1983. They had a jumper wire that is soldered to the frame of this front truck and then rises through a hole in the main loco frame to be soldered to a motor pole.
But if you own or have dealt with the old 1983 model, then you know that a fatal weakness of this model is that this wire BREAKS!
Sooooo.... Do away with jumper wire to front truck.
Also do away with gigantic diode matrix for headlight. I will install micro LEDs in this loco.
Take the front truck main frame.
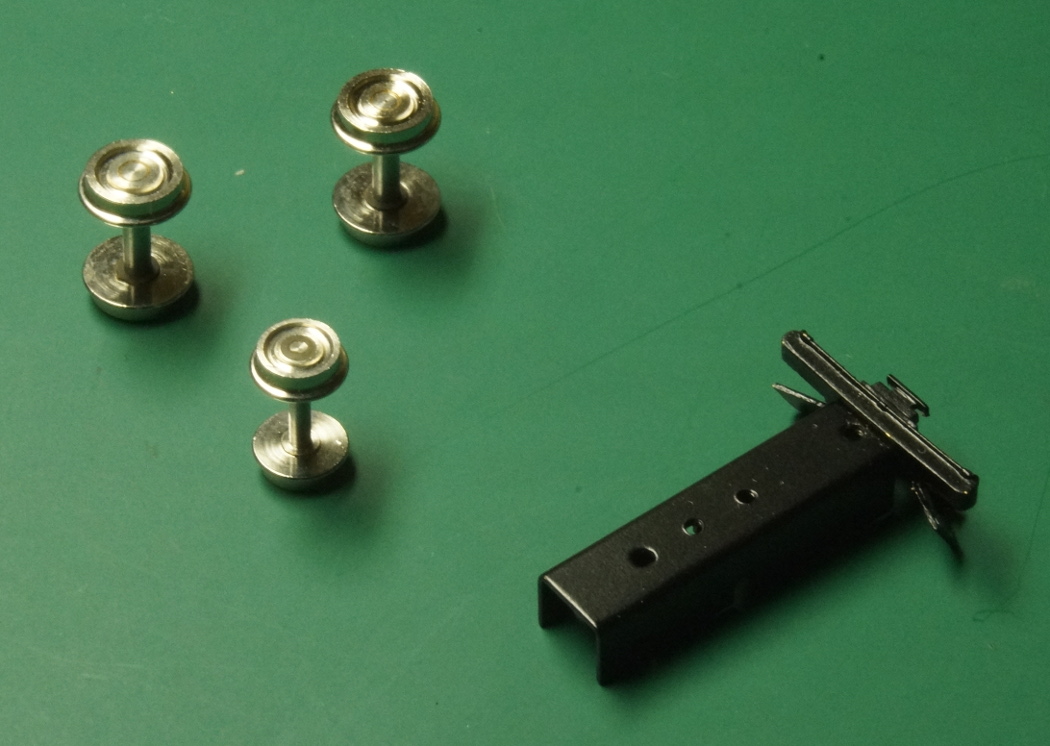
We are going to get the wheels into it---- but the frame is too tight and the wheels lock up.
Well, the big wheels lock up, that is. The very front axle is smaller and it fits right in.
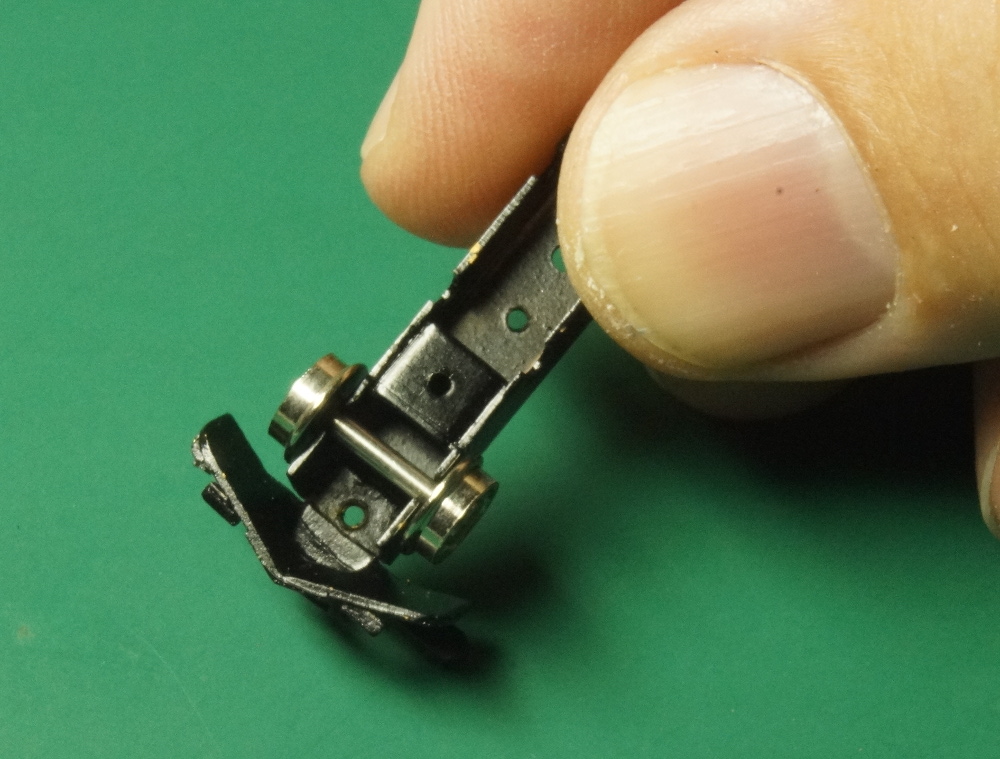
But since the big wheels are too tight, take a tiny tiny round file and gently spin it in the axle. We don't want to gouge out metal, just open up the slot a bit. Do it from both sides so your work is even.
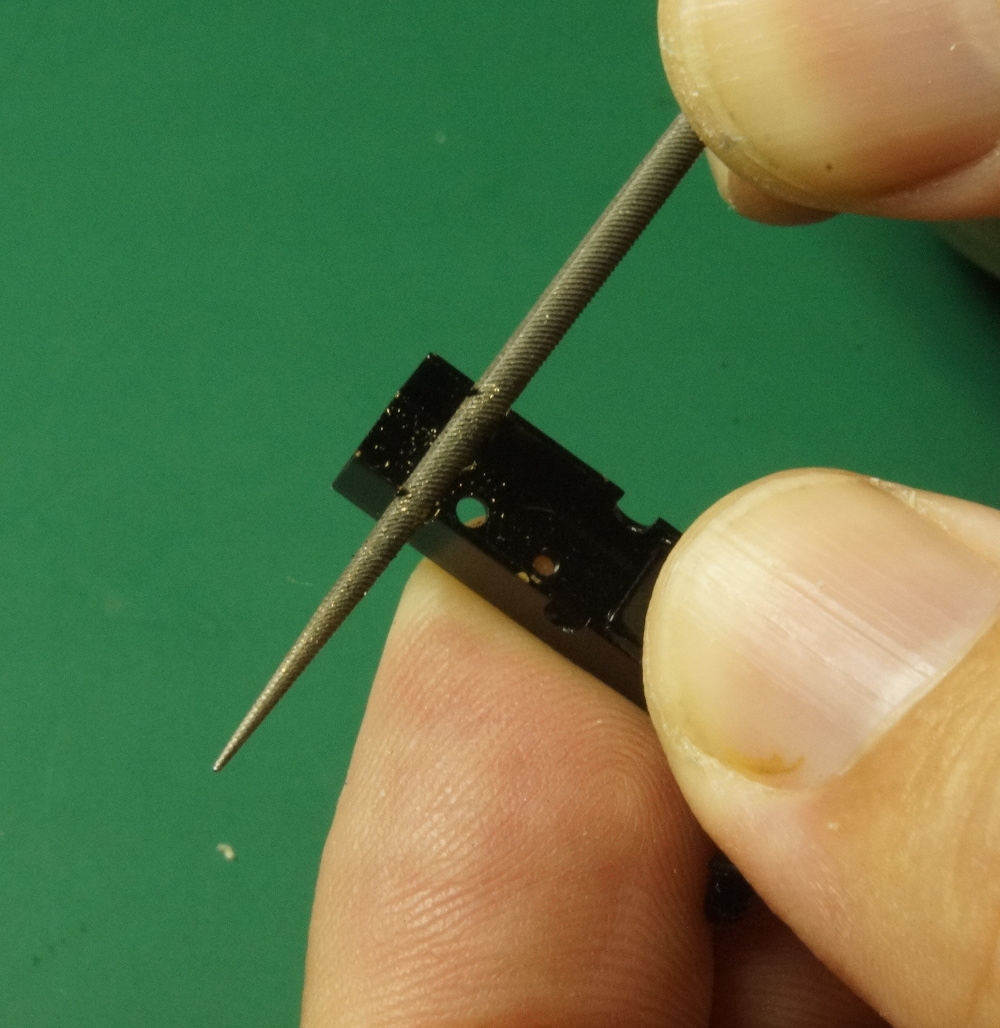
Not only does it open up the slot a bit, but HEY! The metal is all bright and shiny with all paint gone from the contact surfaces.
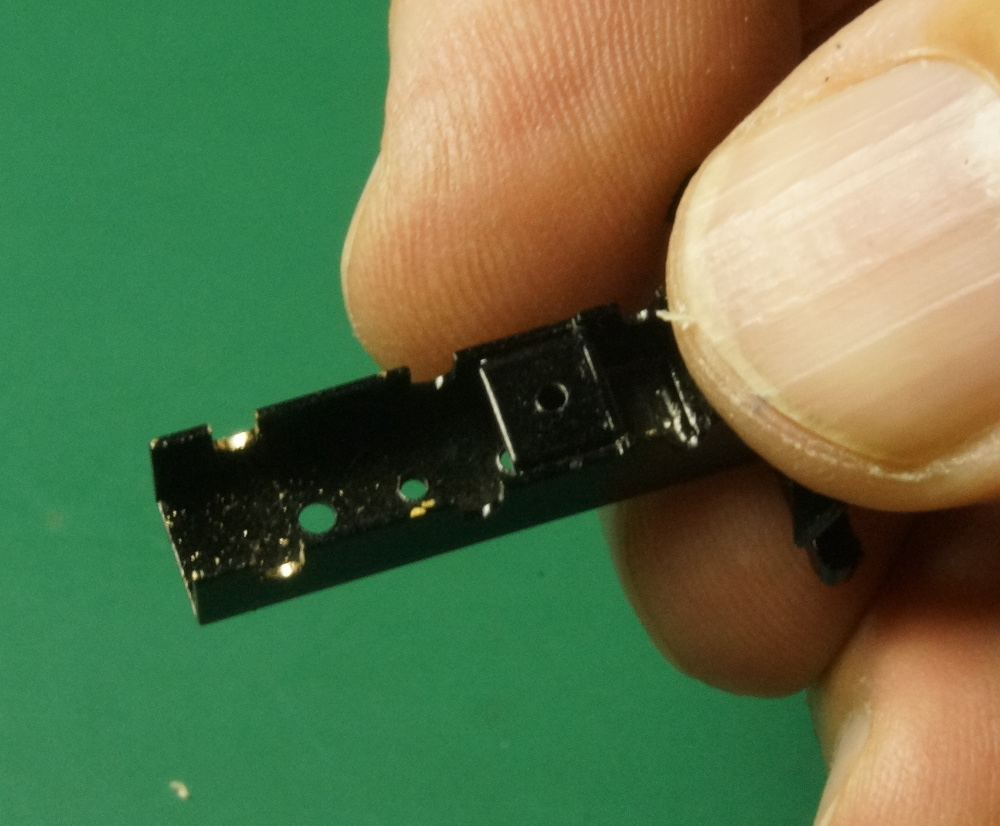
Work a little at a time and don't do too much at once.
Test an axle and see if it is free spinning. If so great, if not, spin the file a little more until it is.
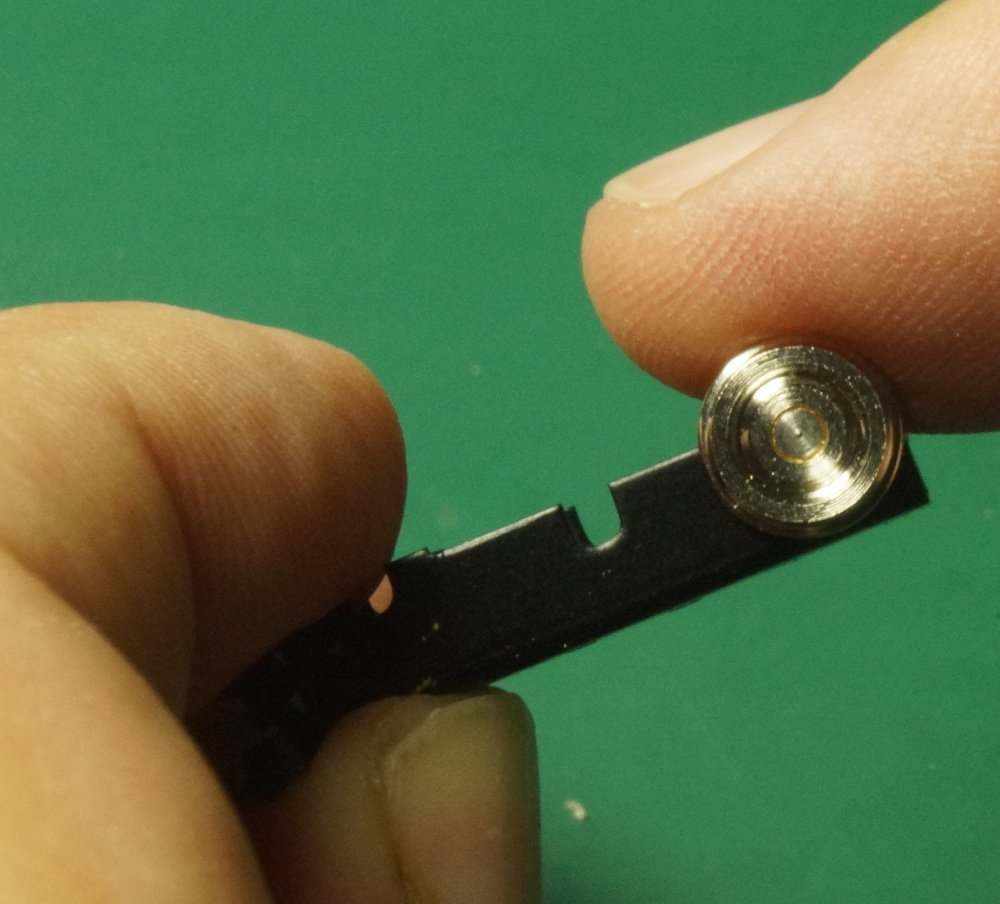
Repeat for all the axles. Be sure to just scrape the paint off the front axle too.
Now, a special tool was required for this project.
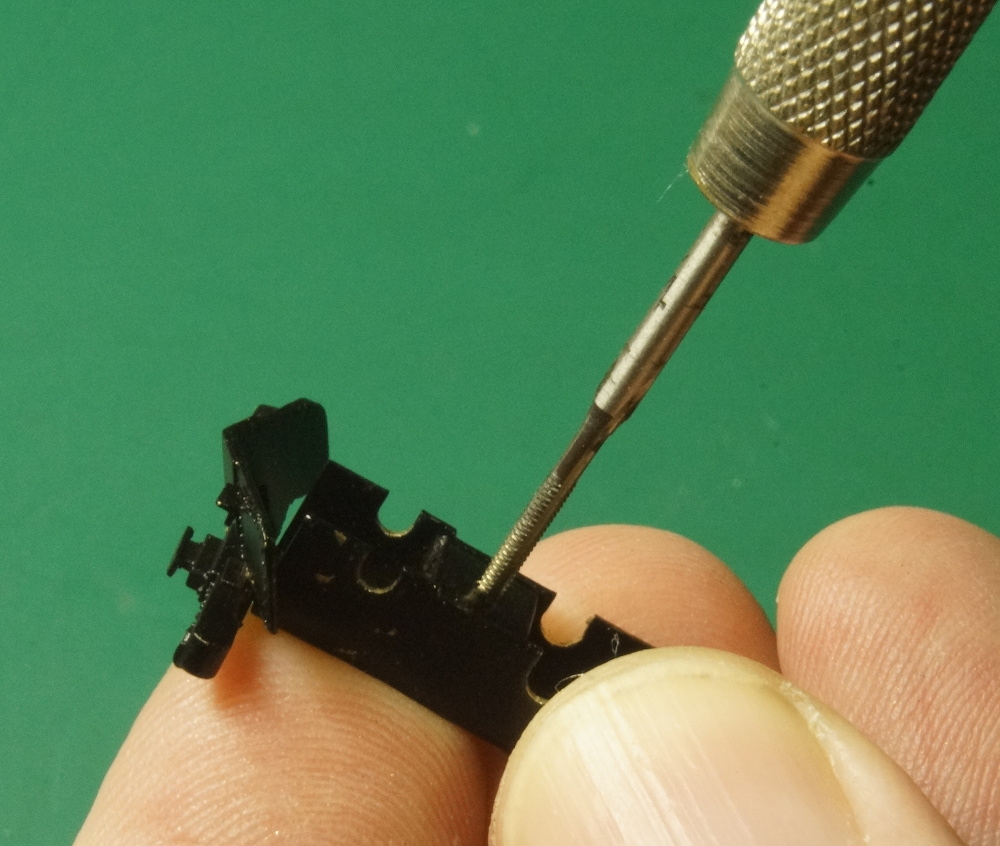
I needed a specail tap that fit the screws provided.
I bought this off ebay from a Chineese seller.
It is a metric M1.4mm x .30mm pitch tap.
It is smaller than 00-80 and bigger than 00-90.
I found it helpful to run the tap through any screw holes to clean them out and freshen them up. Sometimes the paint is thick or there may be a burr.
There are three screw holes on this frame.
Now I can assemble all the axles.
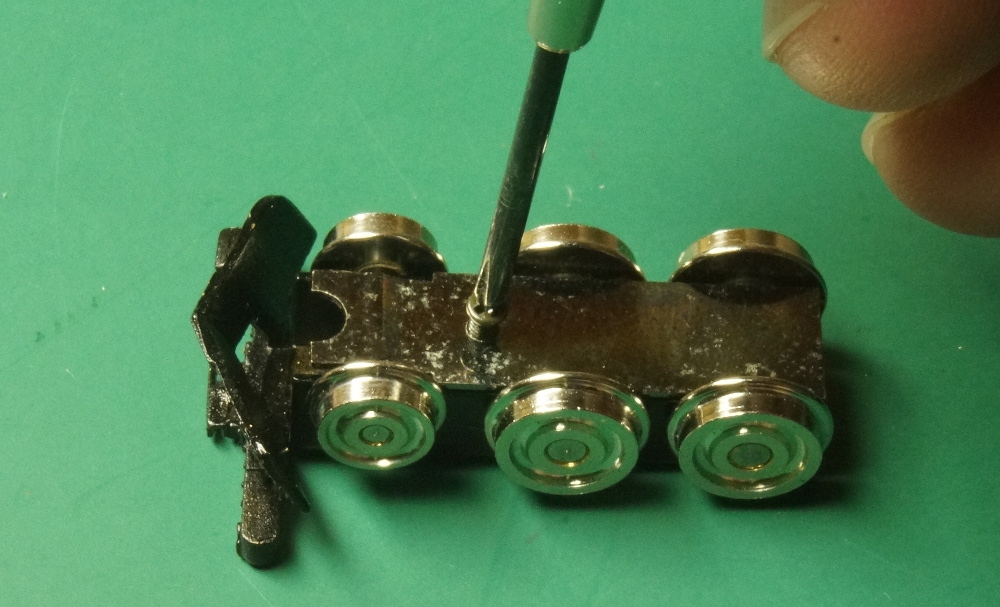
Make sure all the insulated wheels are on the same side.
The bottom cover plate has a hump in the front. install with the hump down so that the front smaller axle has more free room to float.
Test it on a piece of track.
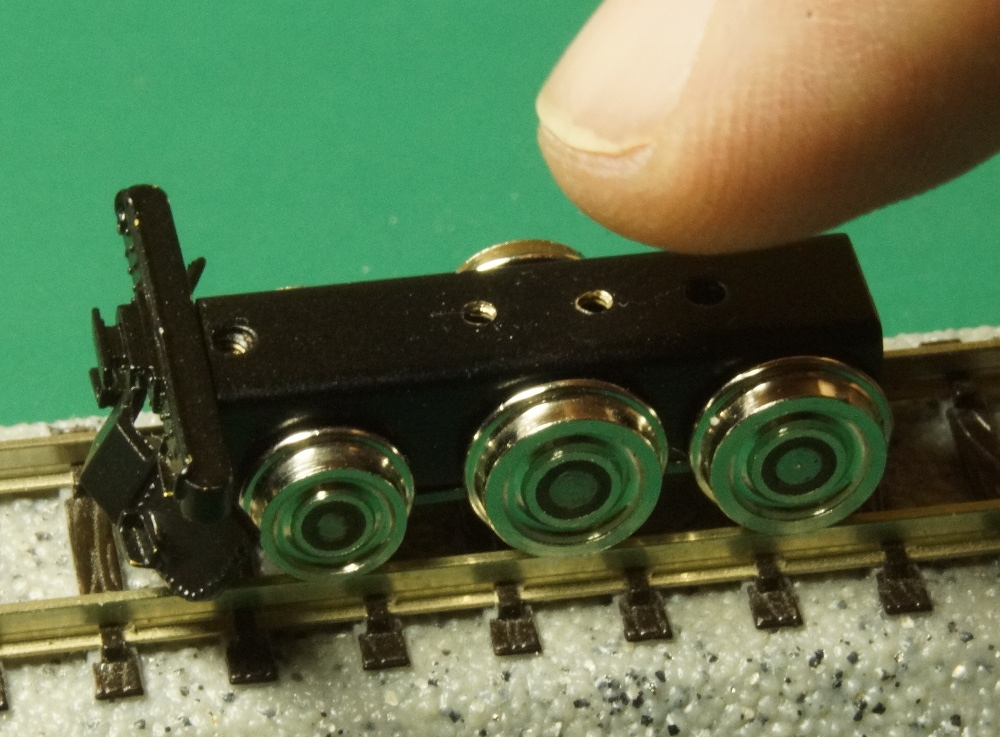
It is VERY free rolling.
Note all black insulation at the center of the wheels. This is the insulated side.
Repeat for the other truck but make sure the insulated wheels are on the OTHER side.
More to come later.