While the engine continues to be sexy, I've been spending a LOT of time on a project that I keep saying feels like modeling puberty: my ND caboose.

Yes. I could have just built it as it came, but I hope I'll be running it on a layout with significantly larger equipment and so I'm doing some things to prevent it from becoming kindling. That means building the frame out of brass instead of wood. The prototype cars had steel frames, so I feel like it's appropriate. That said, it's been a LOT of work!
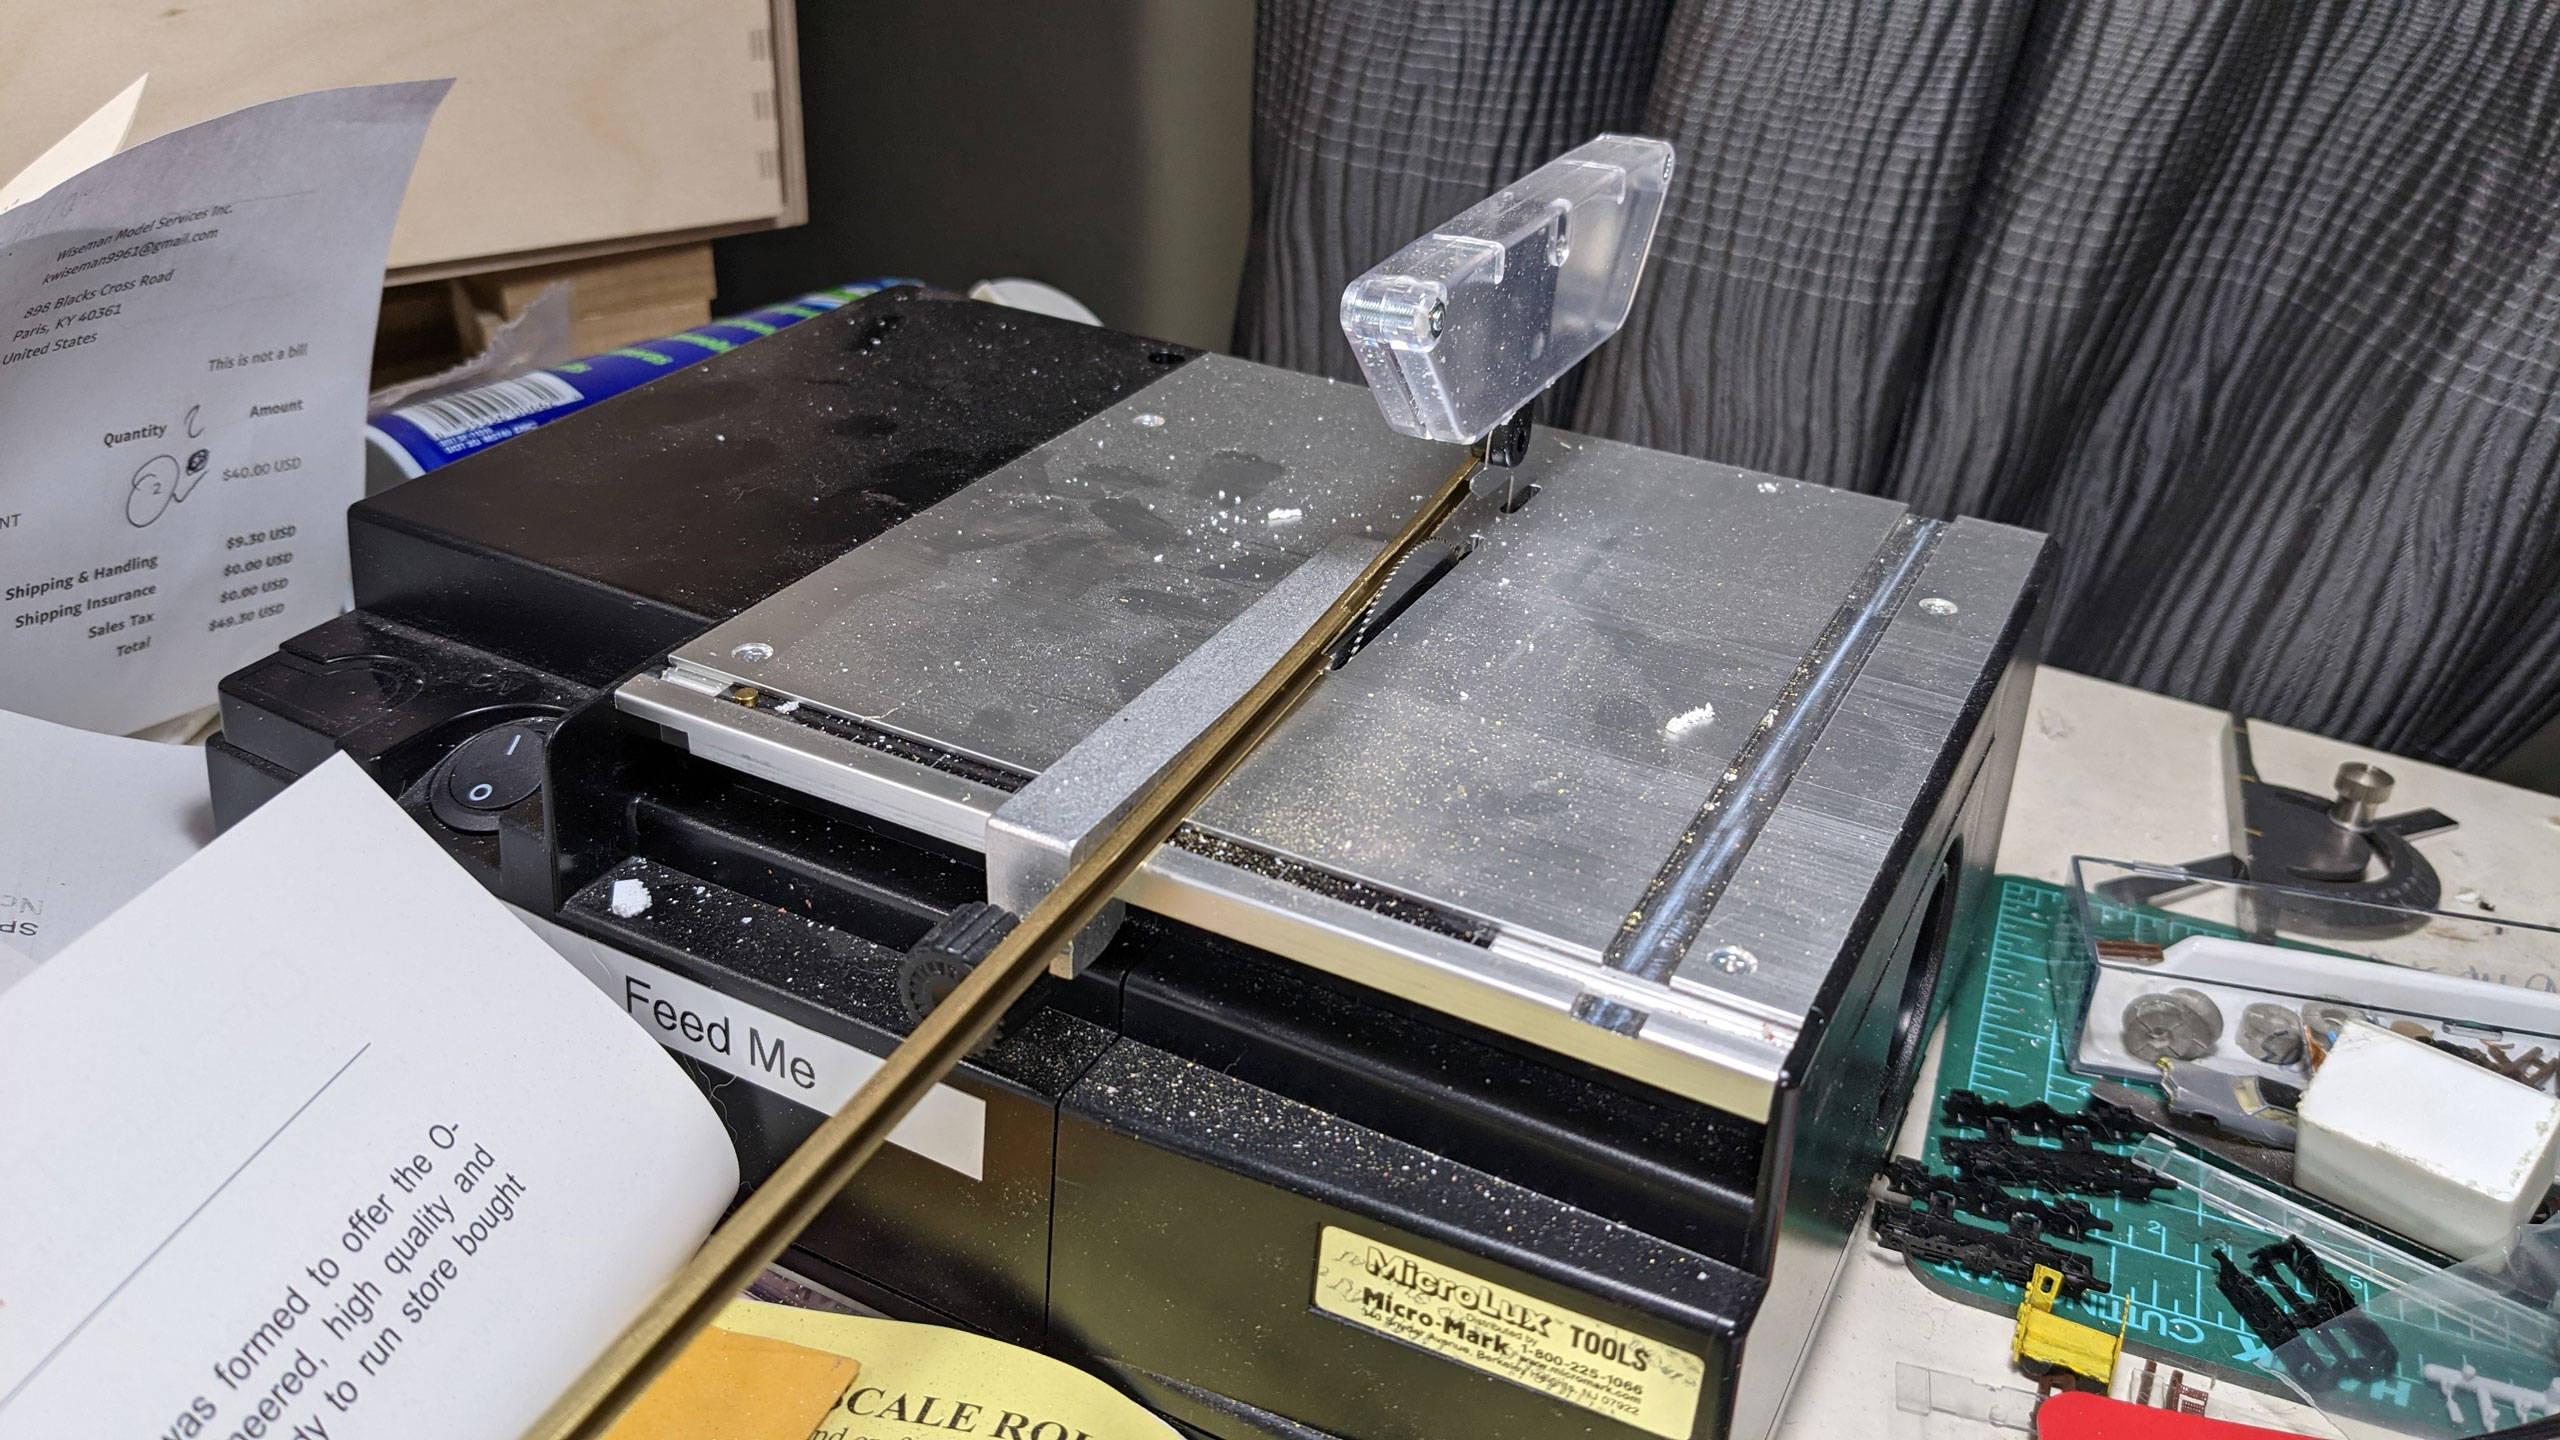
First I had to cut the 3/16" brass channel down to the right profile. Thank goodness for the DKS finger removal device!
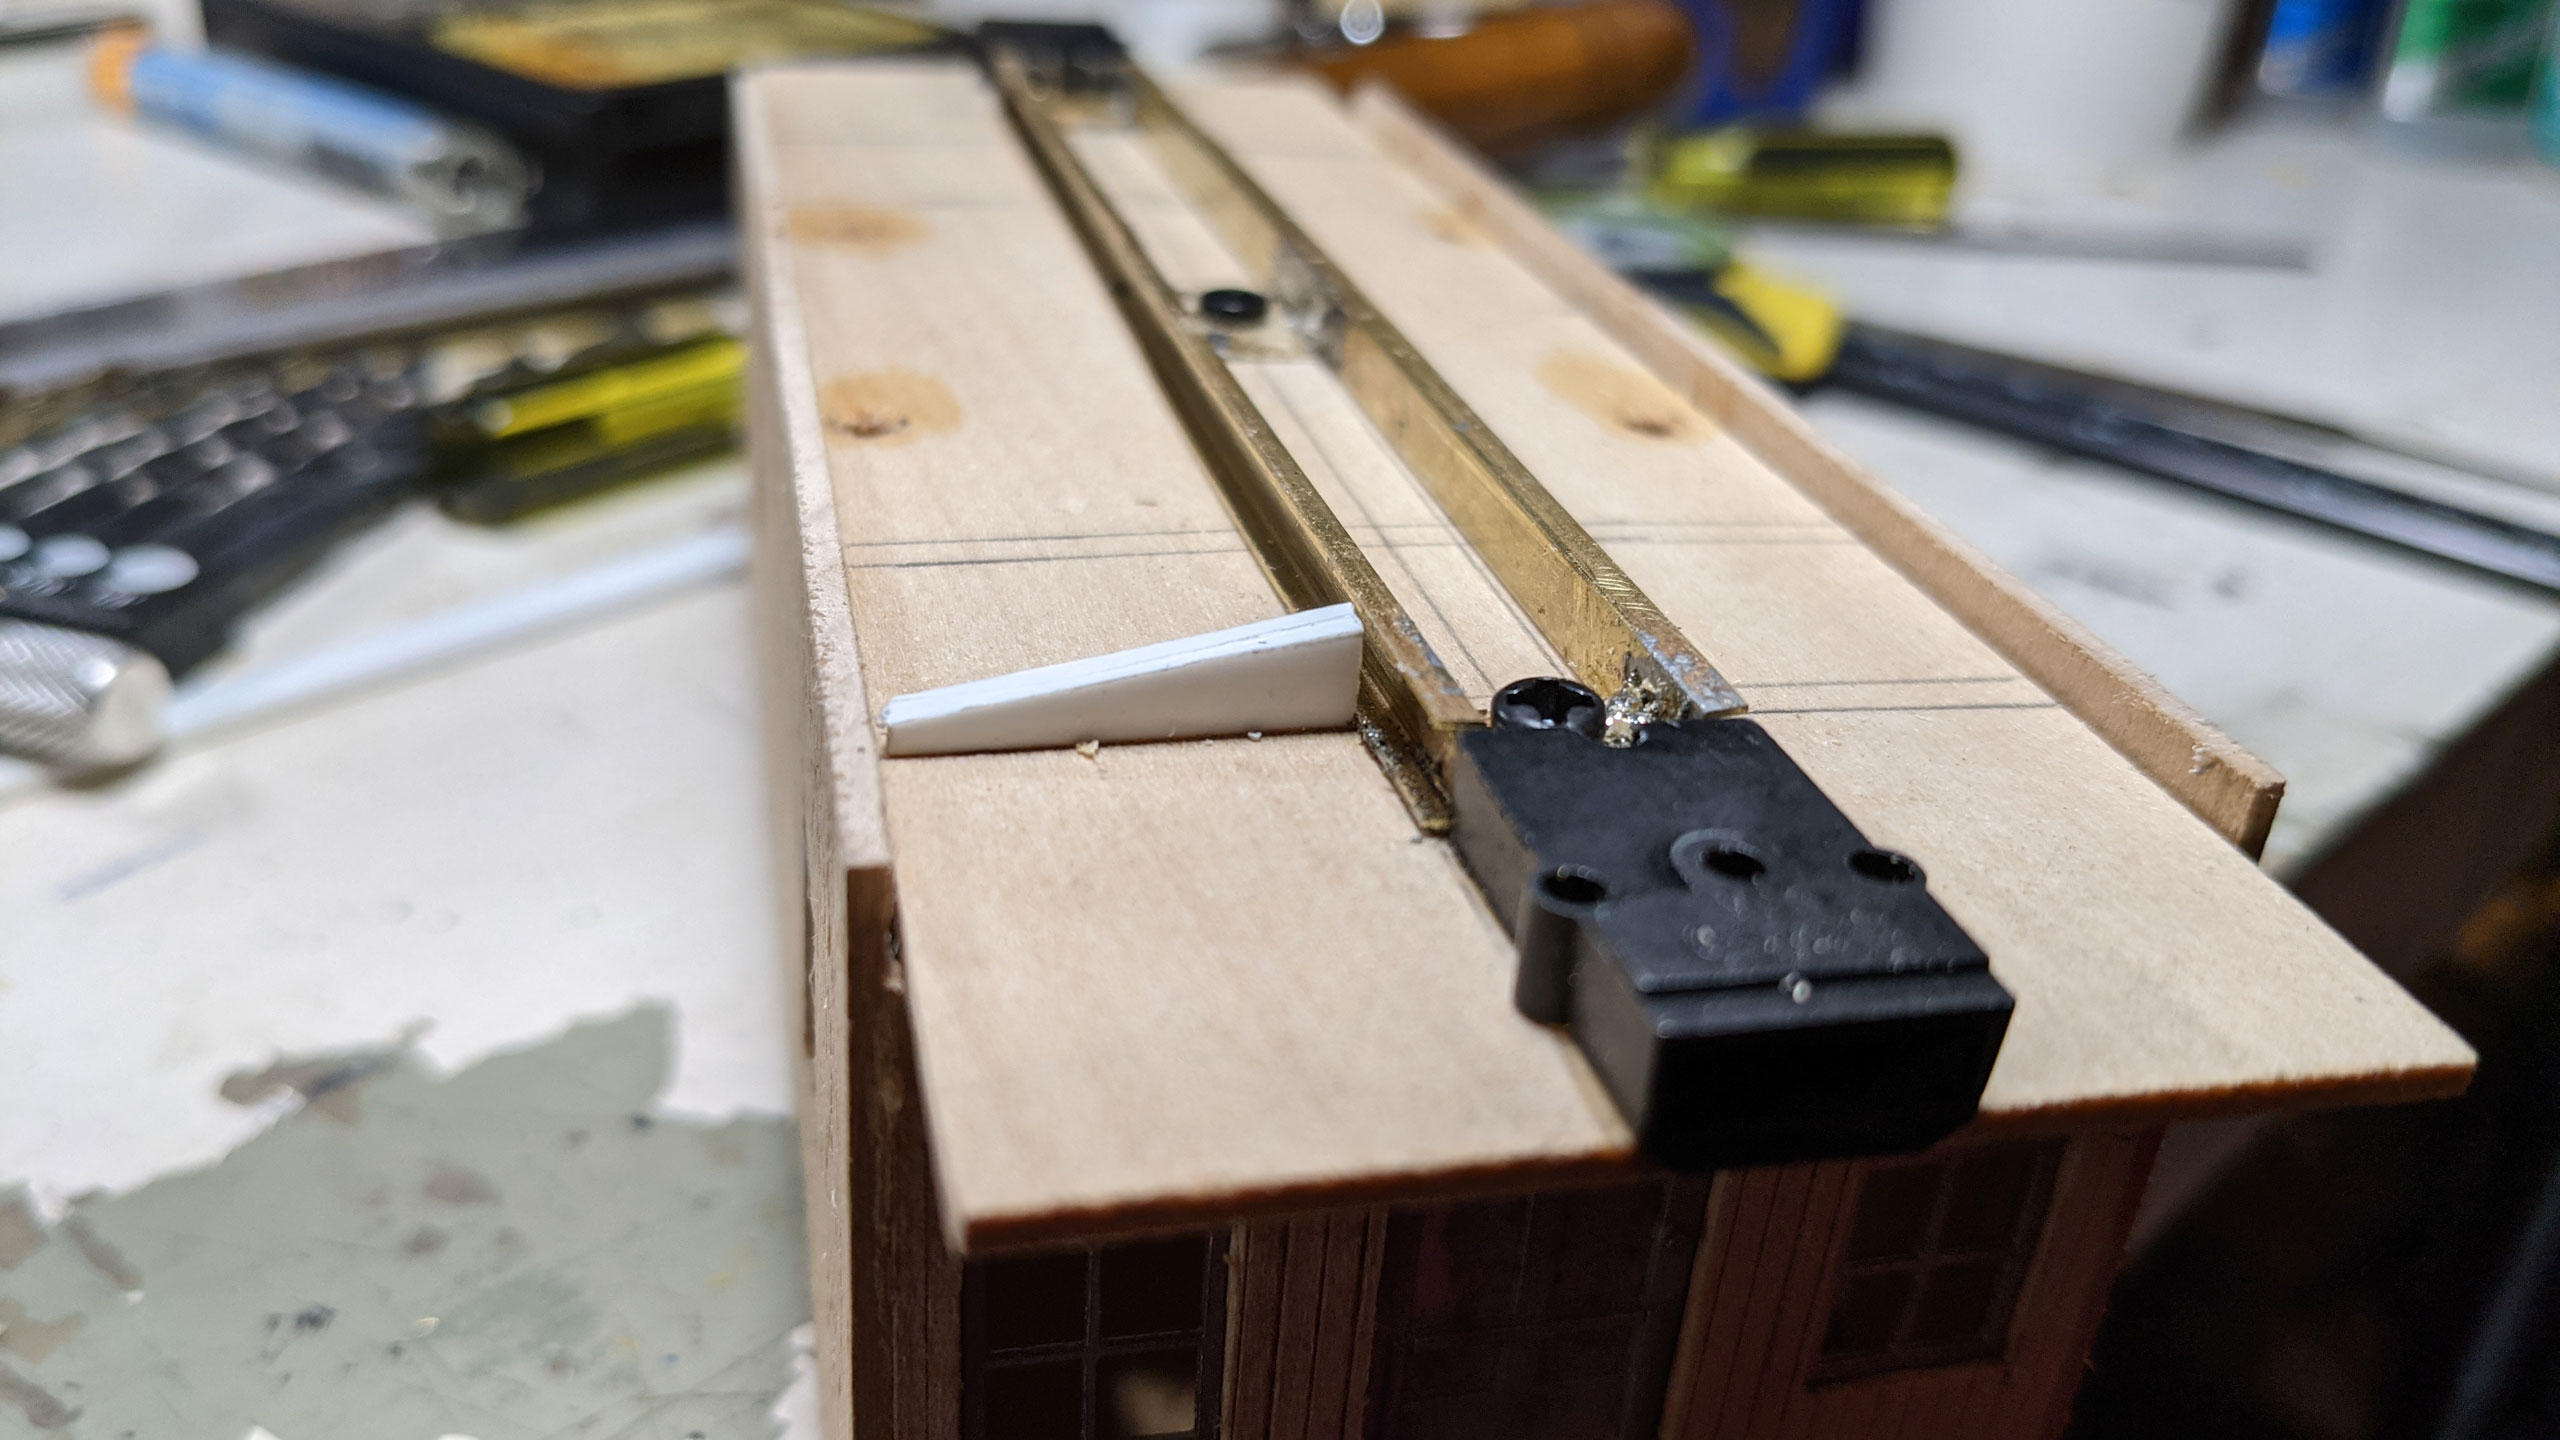
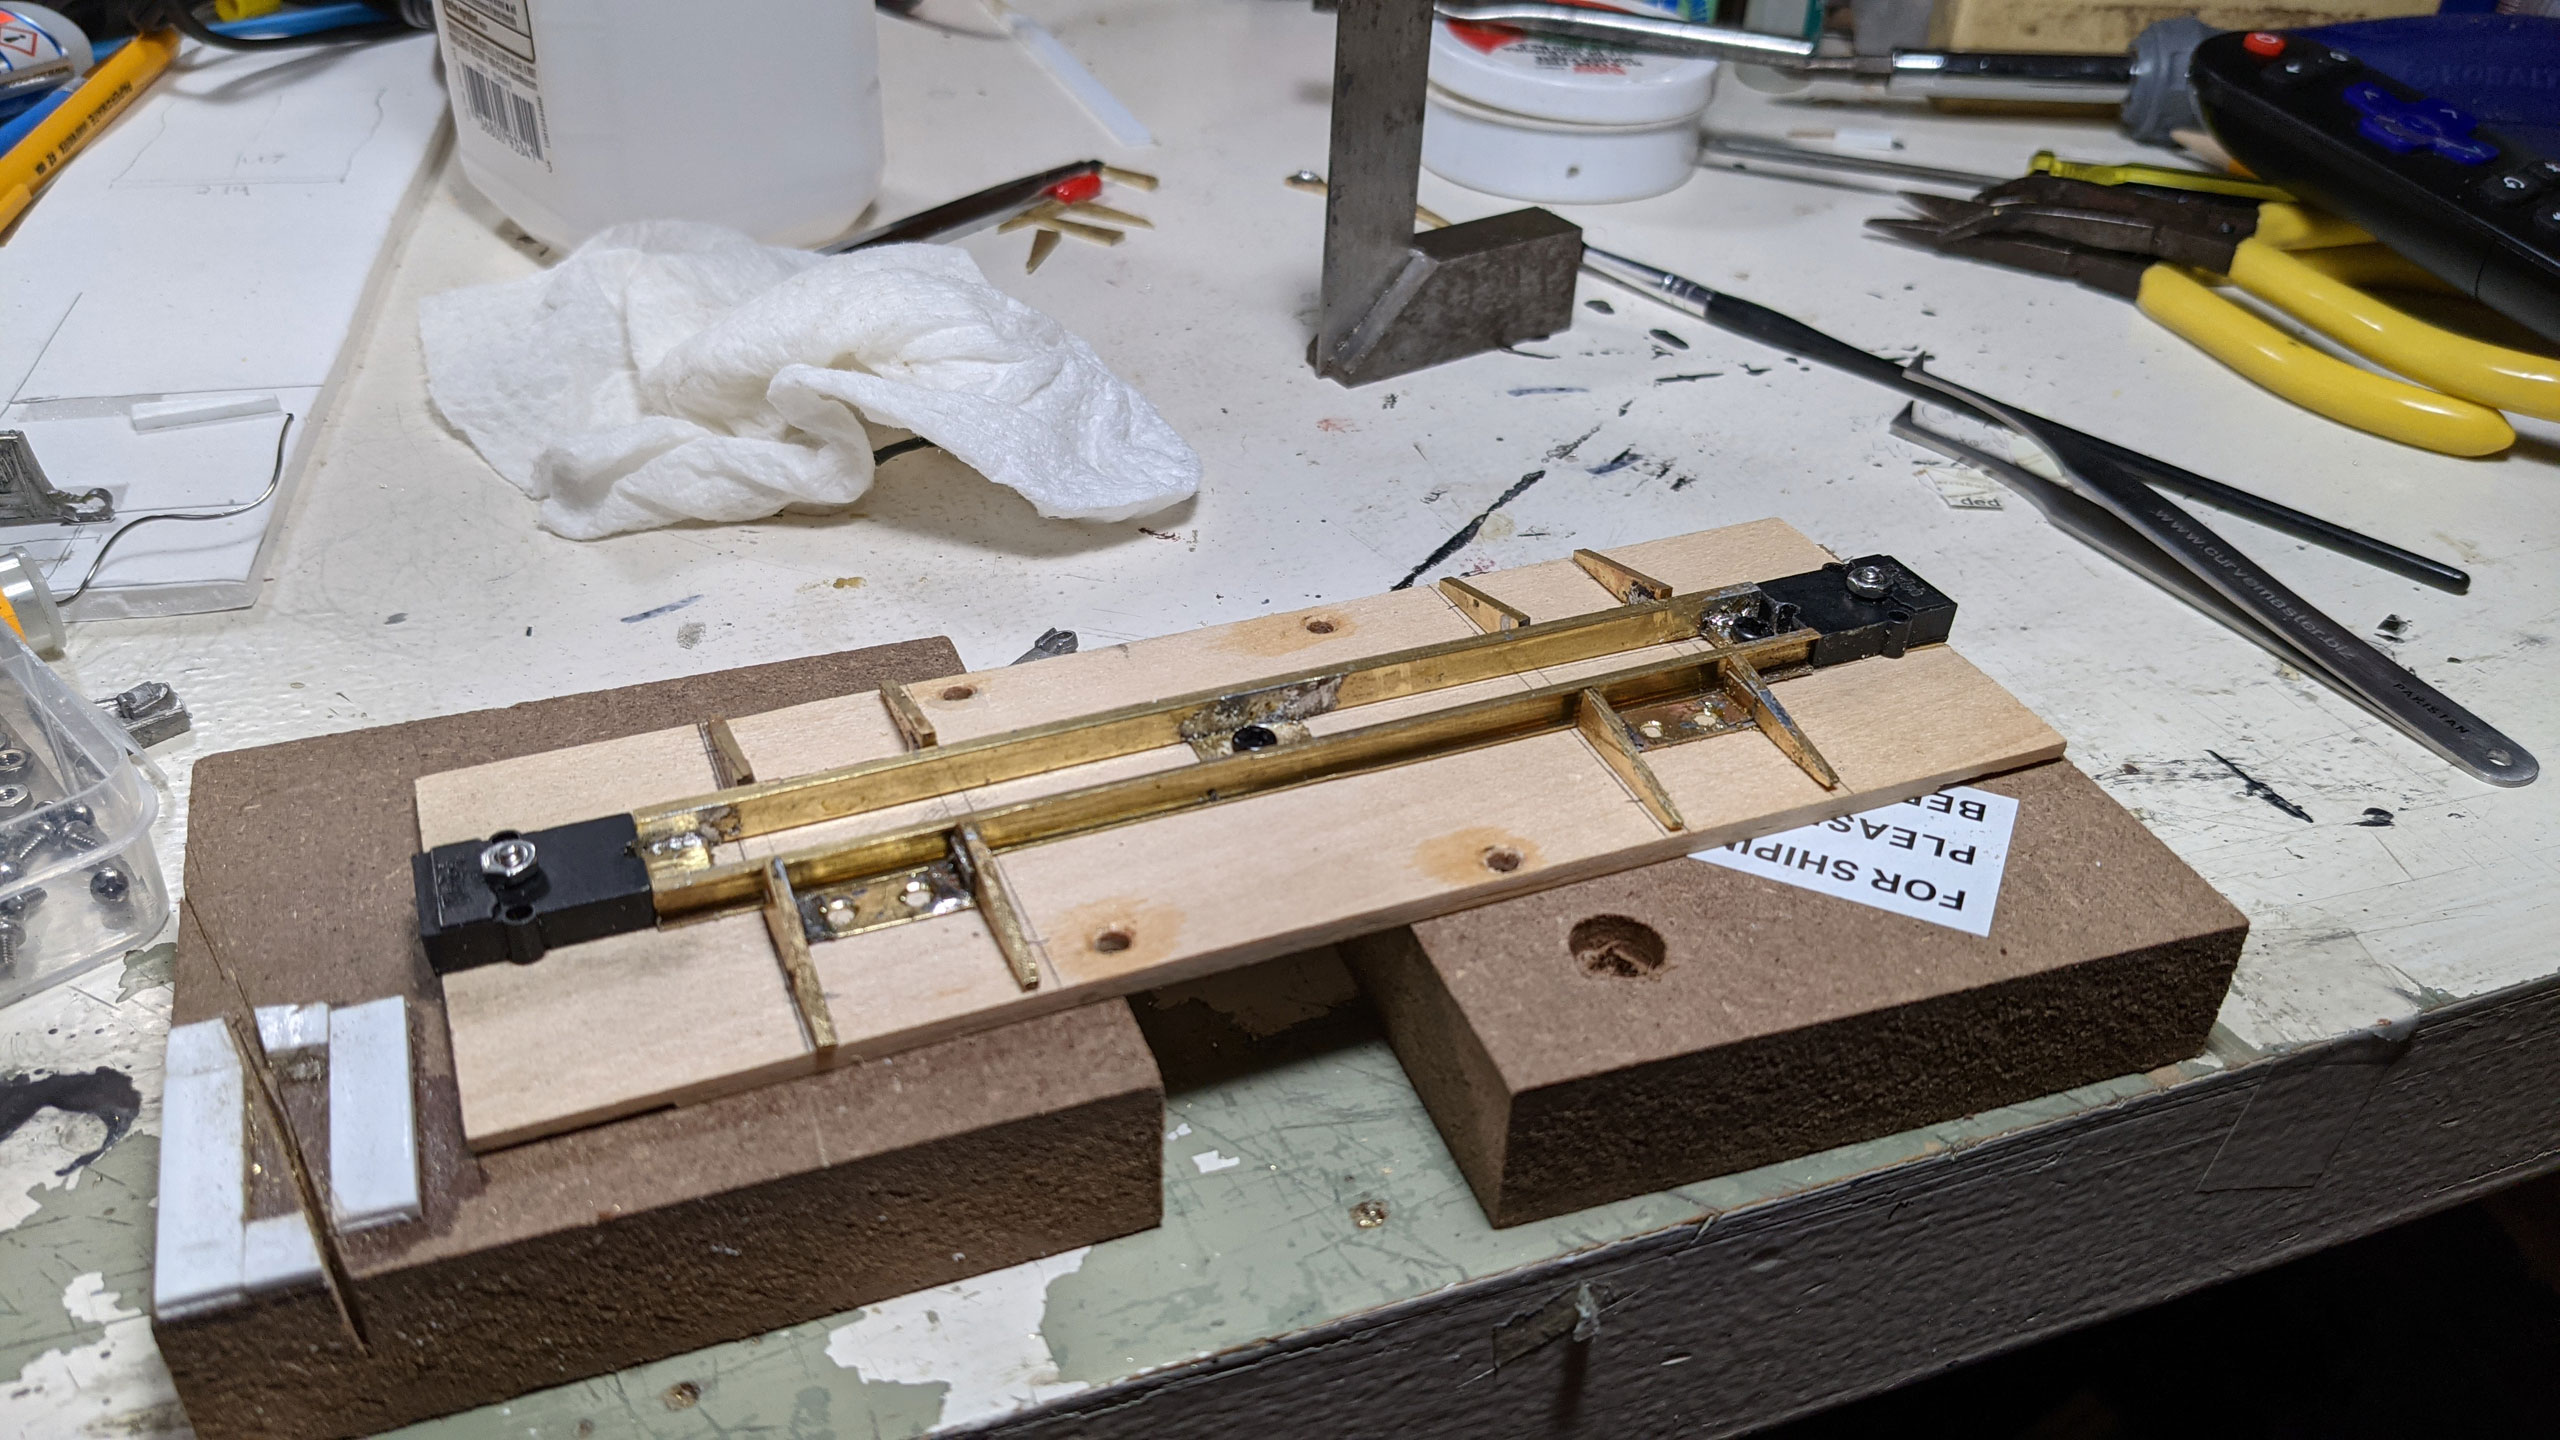
Then I soldered that to some cross pieces and drilled through them to attach the sill to the body with screws. In this photo you can also see the plastic bolster pattern that I made. I then had to make 8 of those out of brass bar stock. By hand.
I realized this would be crazy without a jig. So I made a jig.
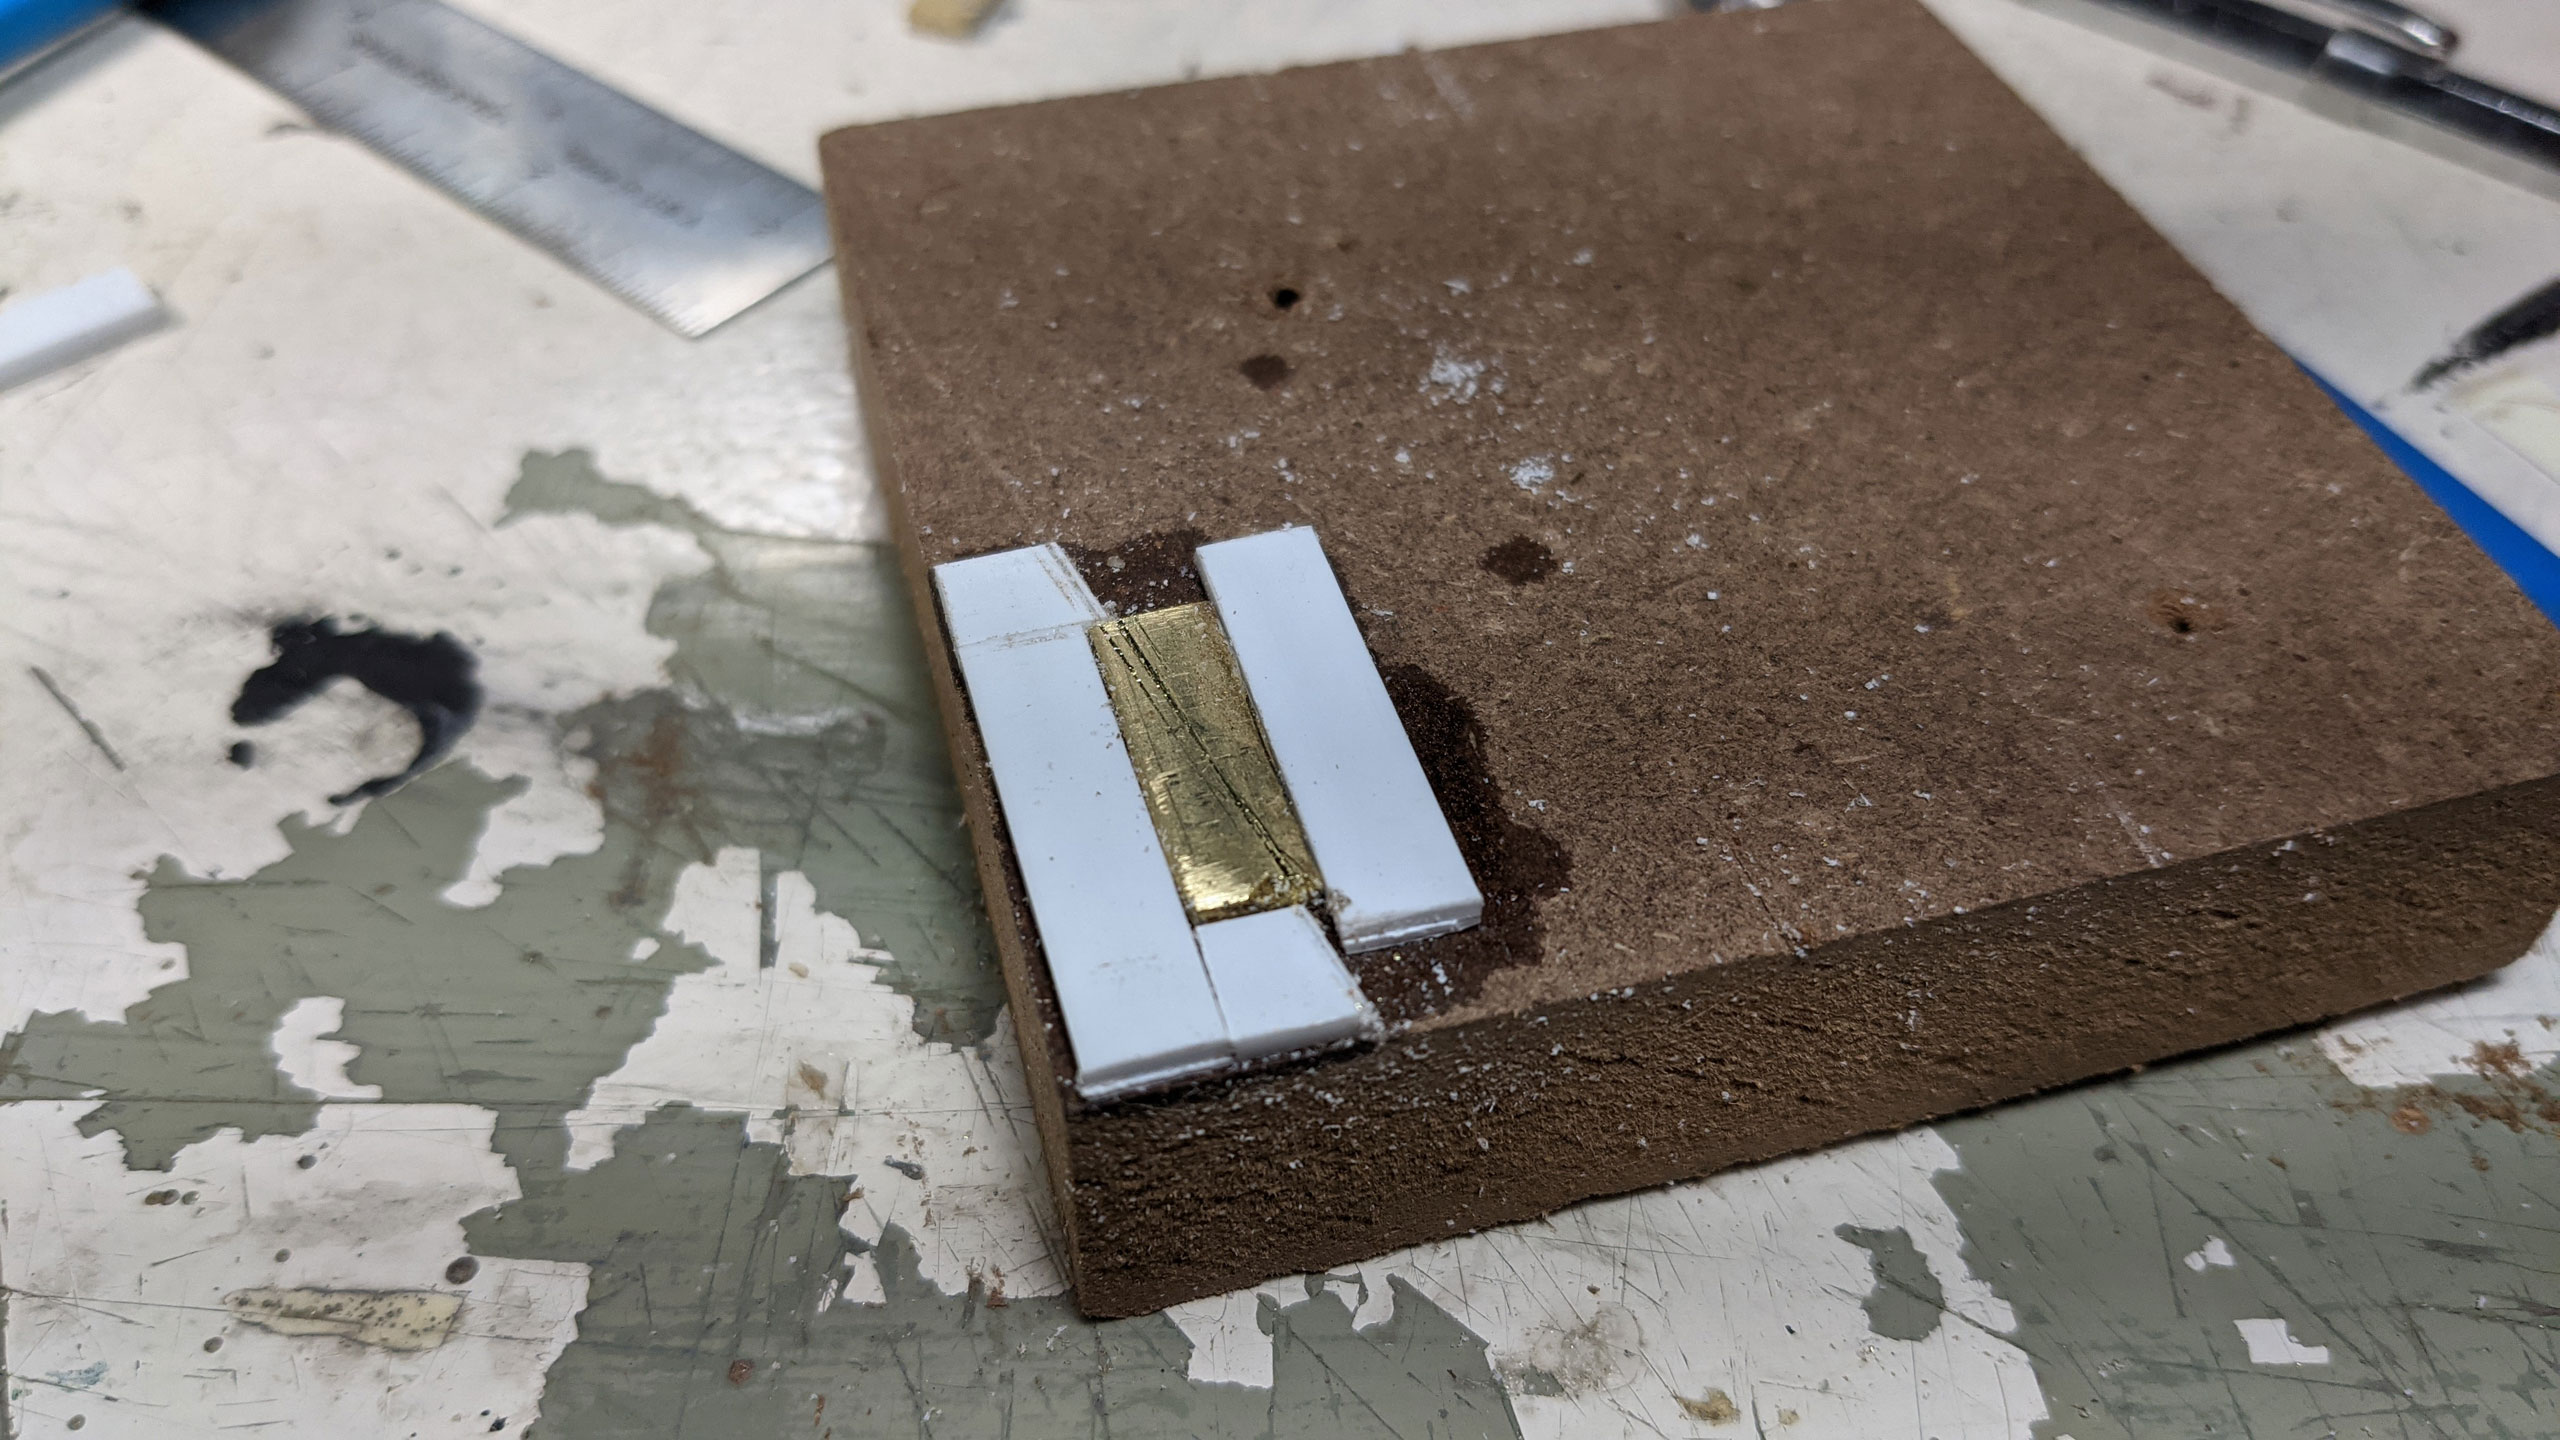
It was still a lot of
hand work though!
With those made, it was then time to make the bolster assemblies. As designed, the kit had you make all of this stuff out of wood and just glue it in place. I wanted to be able to easily disassemble the car though so I decided to attach these bolsters together with a cross piece that would then have two screws through it to attach it to the body. I also made the L brackets on these by hand from pieces of C channel since I didn't have any suitable stock around.
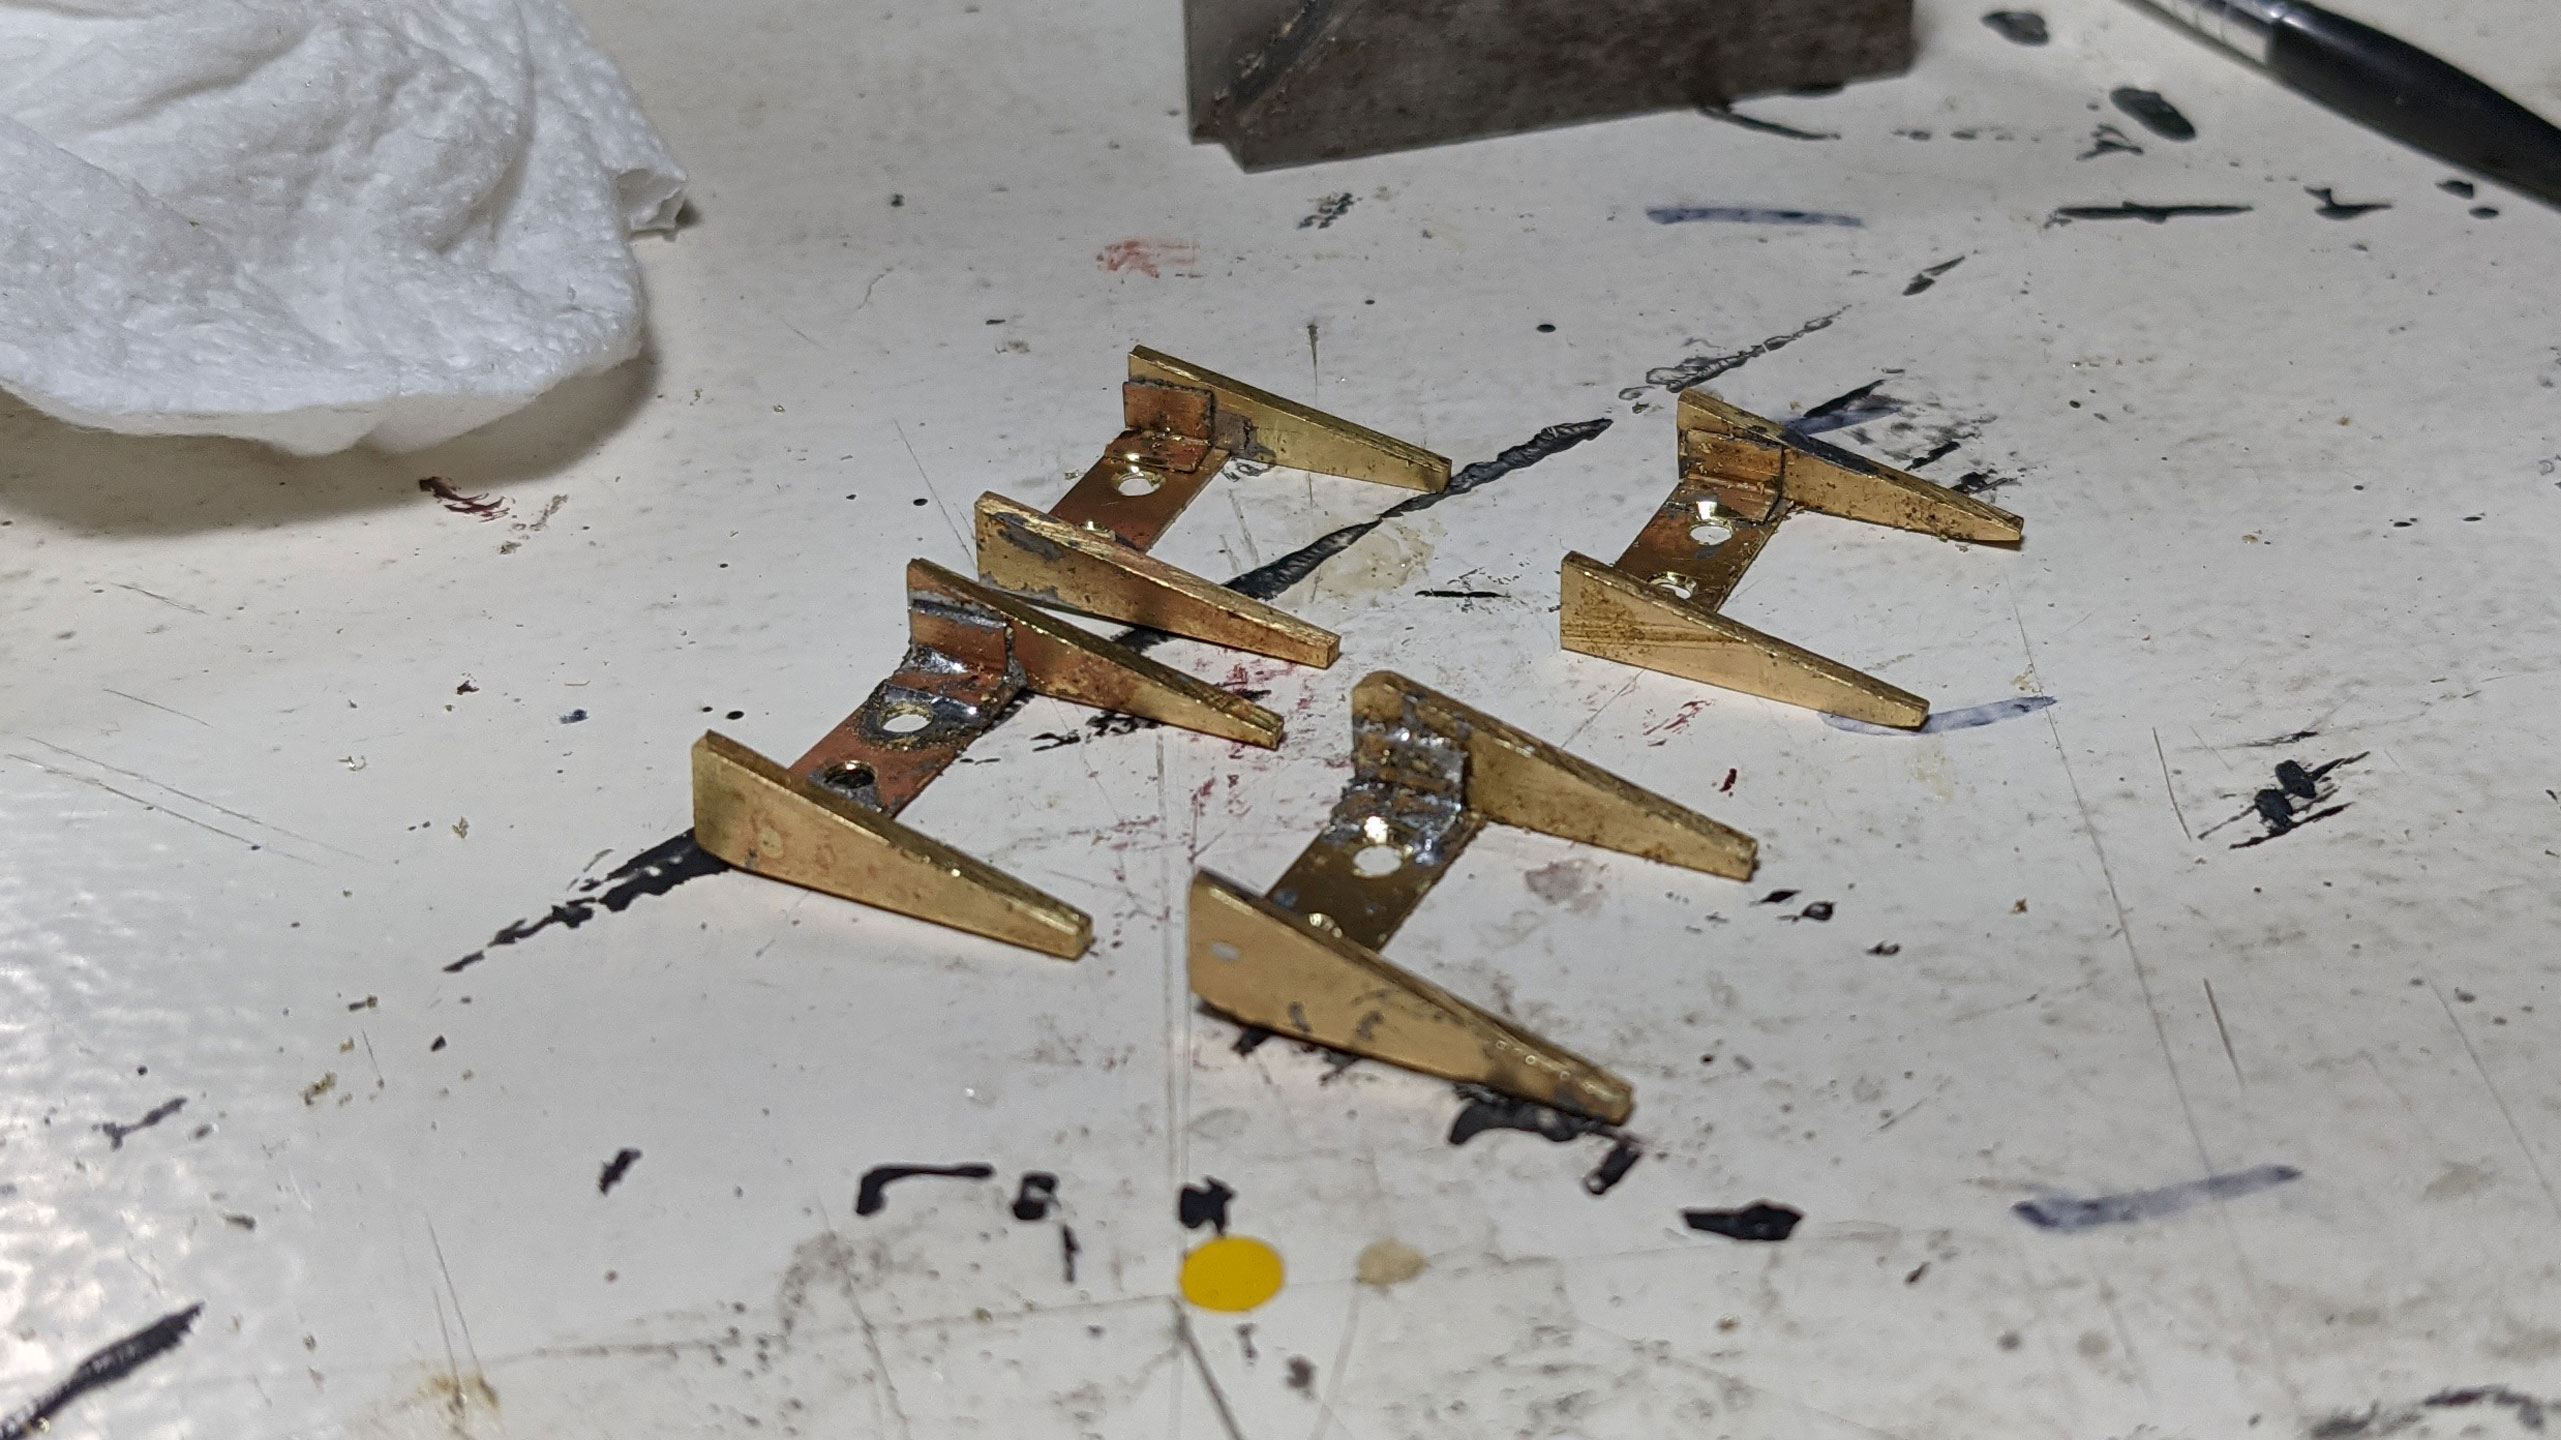
Here they are all attached and ready for fitting the journals.
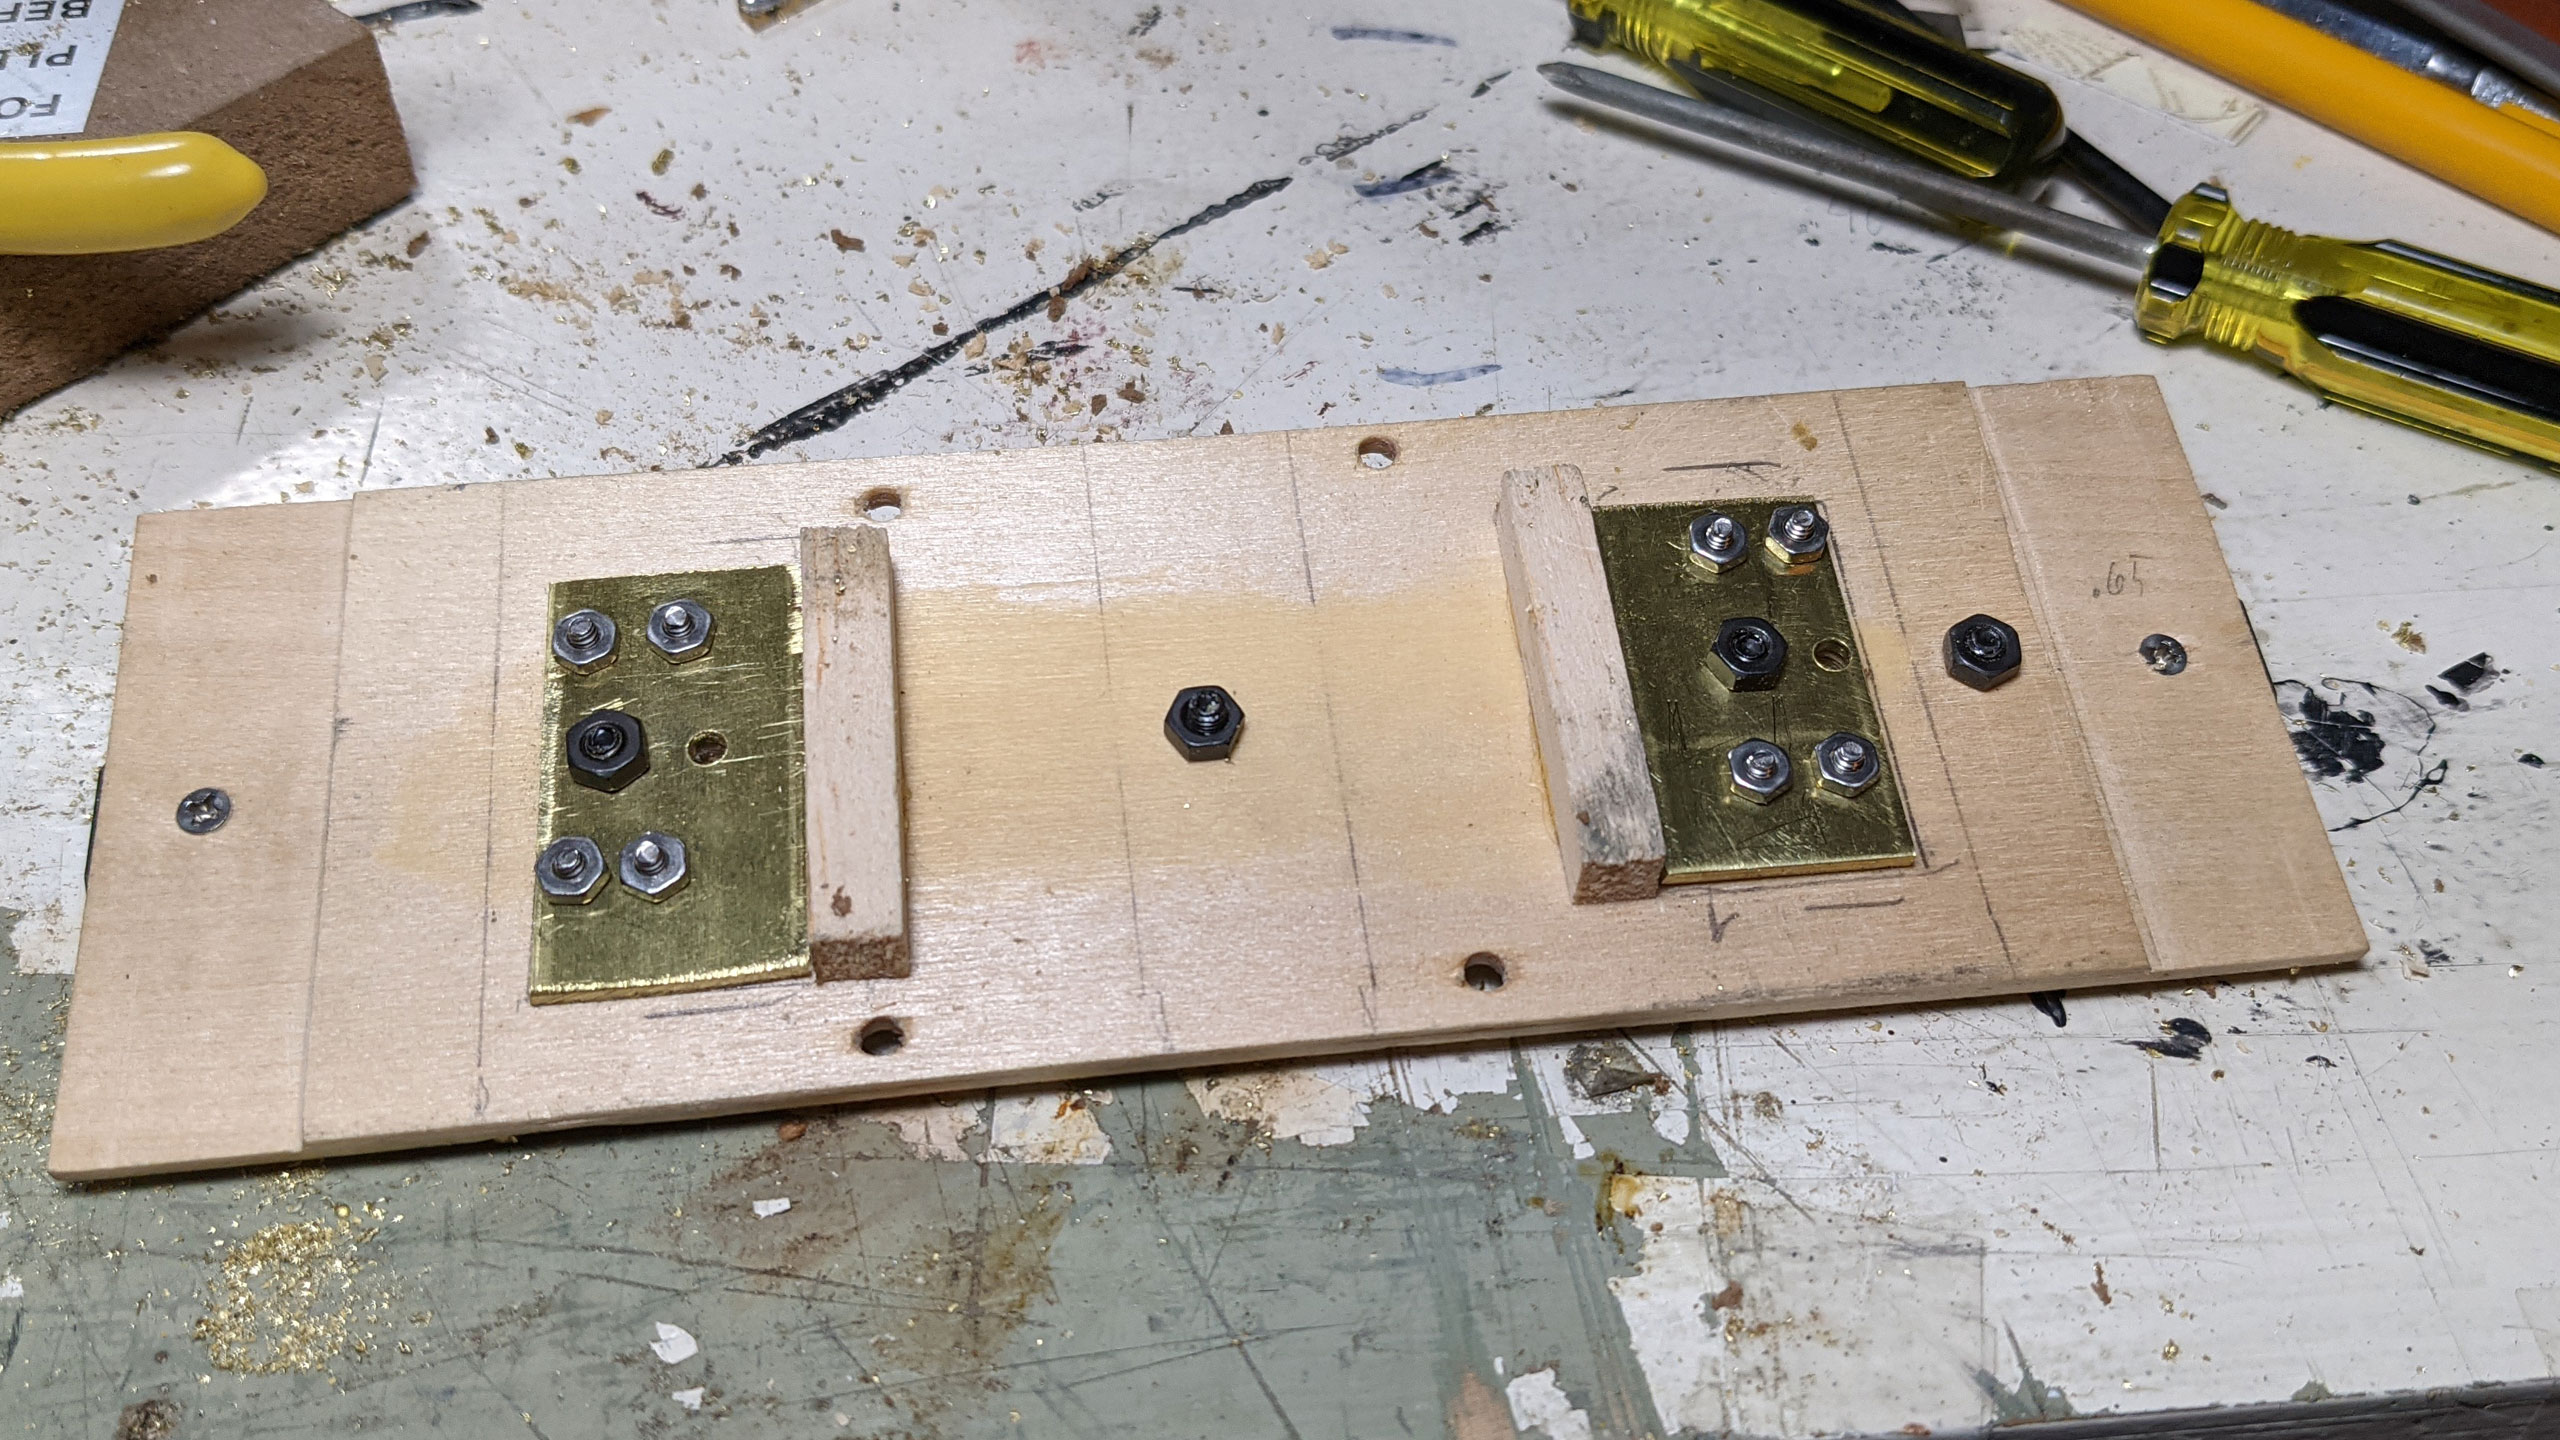
Attaching these to the car wasn't as straight forward as you'd think though. I needed everything to be SOLID. So I attached some brass plate to the top of the floor to give everything a nice solid surface to attach to. All the nuts, however, made it annoying to work on the floor when it was upside down, so I also attached two cross members from some scrap to allow it to lay flat when inverted
Of course, at this point, I ALSO realized that I needed to tackle the end sills (aka, the Berkshire targets) as well. I wanted them physically tied into the underframe, and since you can't (well, at least
I can't solder to the steal Kadee coupler pockets) I had to come up with another plan. The sills are more of the cut down C channel too.

Ok. Next up was attaching the journals. I really wish there would've been a way to screw these to the bolsters, but there's just not enough meat there, so soldering it was. These required a very light touch to get right because they're white metal that melts at a nice low temp.
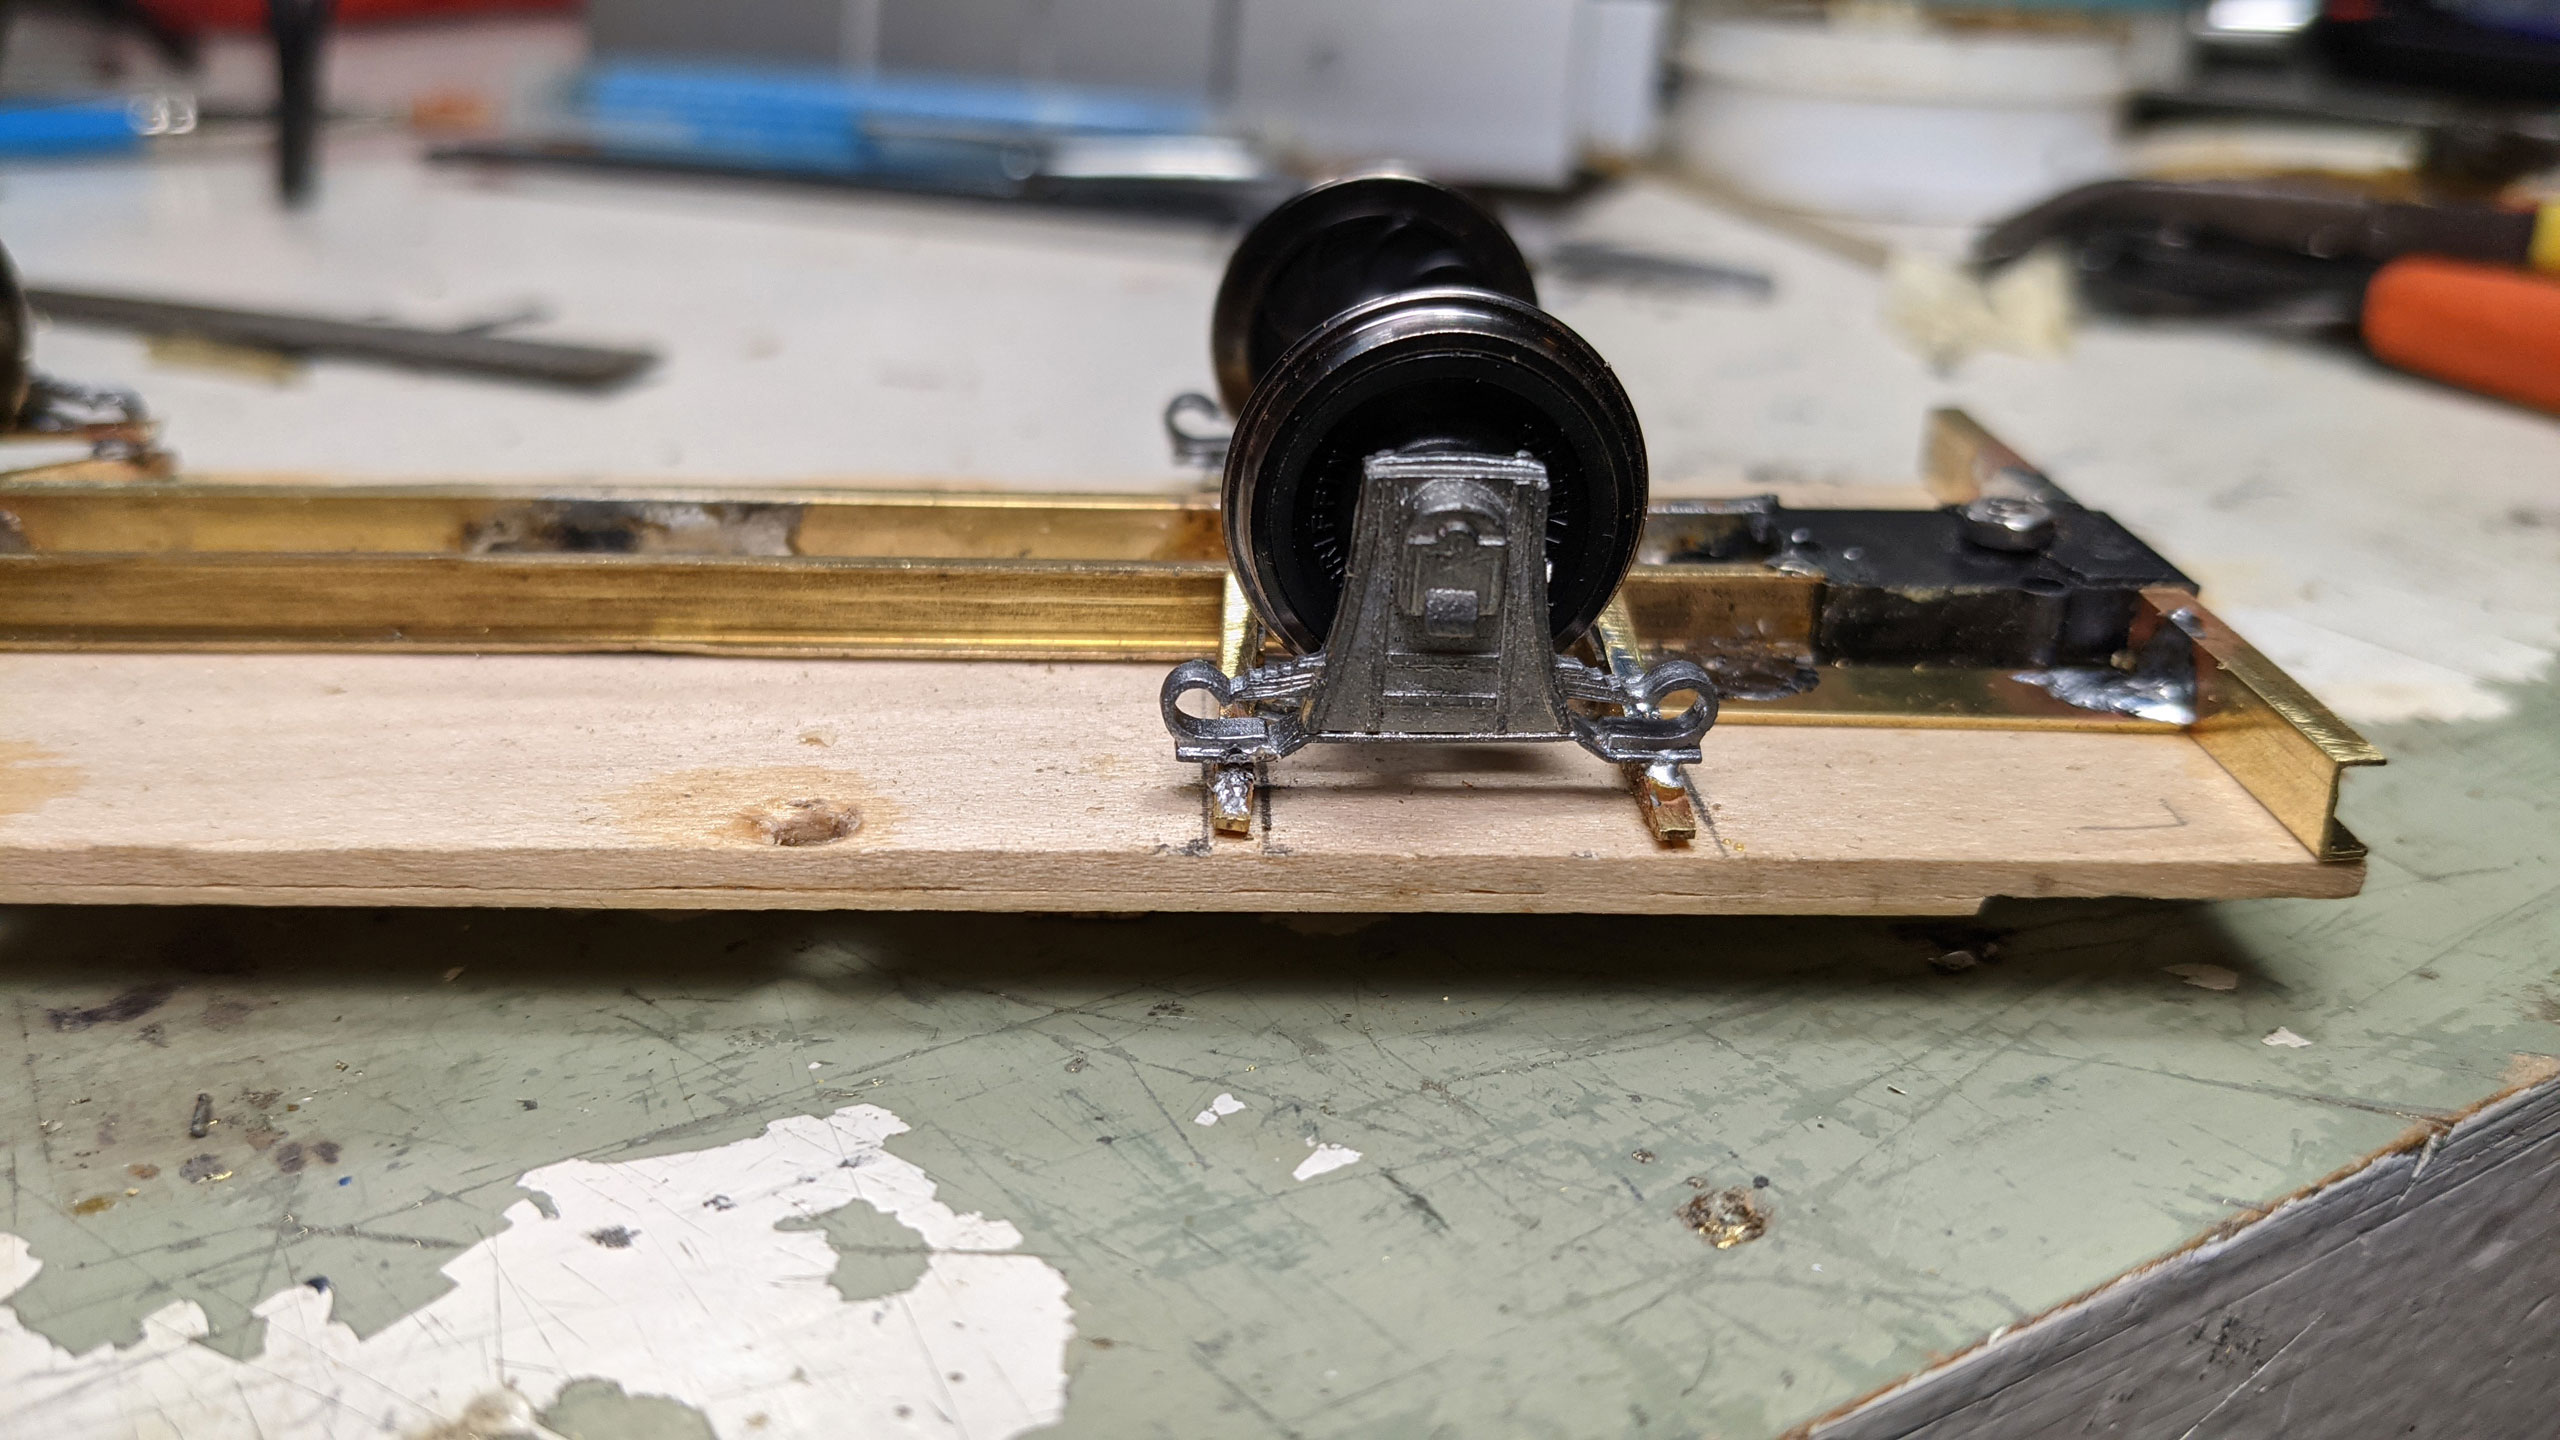
Ok. Those weren't so bad. But this is the point at which I learned my lesson about my new soldering iron and that aforementioned low melting temperature of white metal castings...
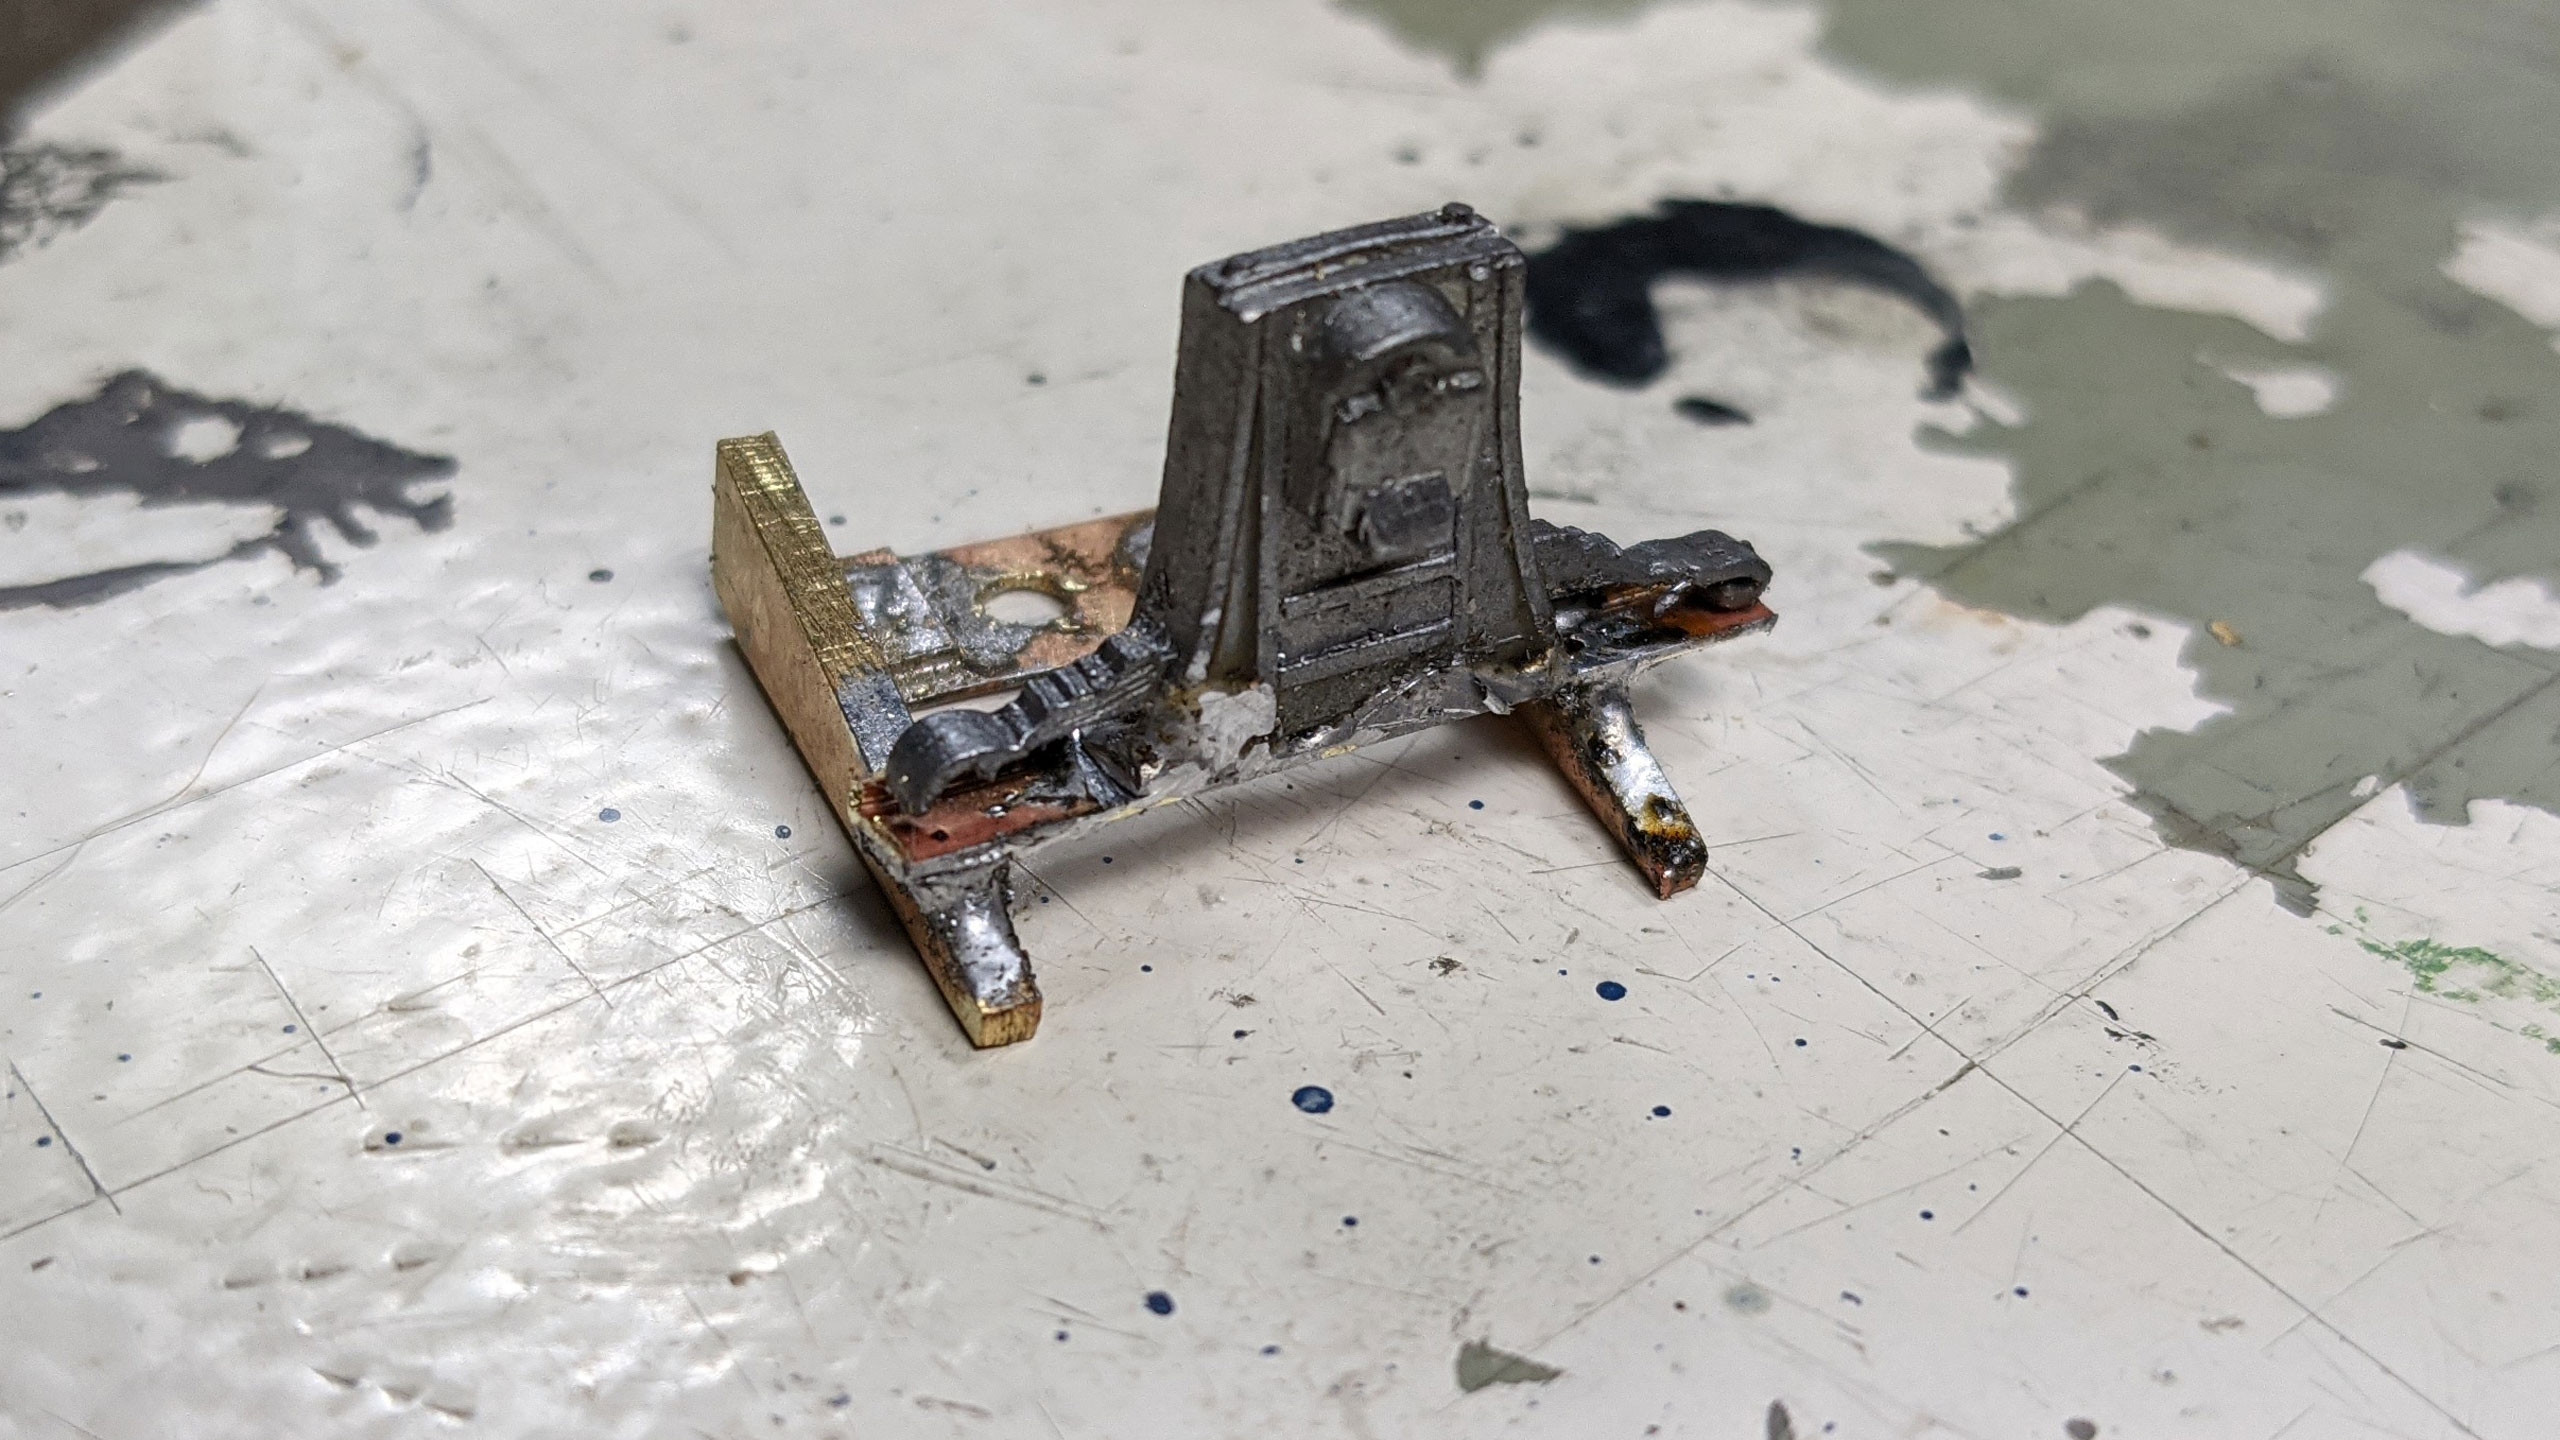
Don't miss the highlights on that one: the solder used to fill in where I melted the casting AND the brass strip I had to use to completely replace the mounting surface I melted off. Whoops.
I've since cleaned that up a little bit to get everything centered up. The good news with this stuff is that you
can reheat the solder and make adjustments. I've been doing quite a bit of learning as I go here and I luckily discovered that if I need to redo these, the castings are available. I've intentionally engineered replaceability into much of the car's improvements so that I can rectify past "oopses" as my skills improve.
Eventually, victory was realized. Here's the car all up on her wheels and actually looking like something for the first time!
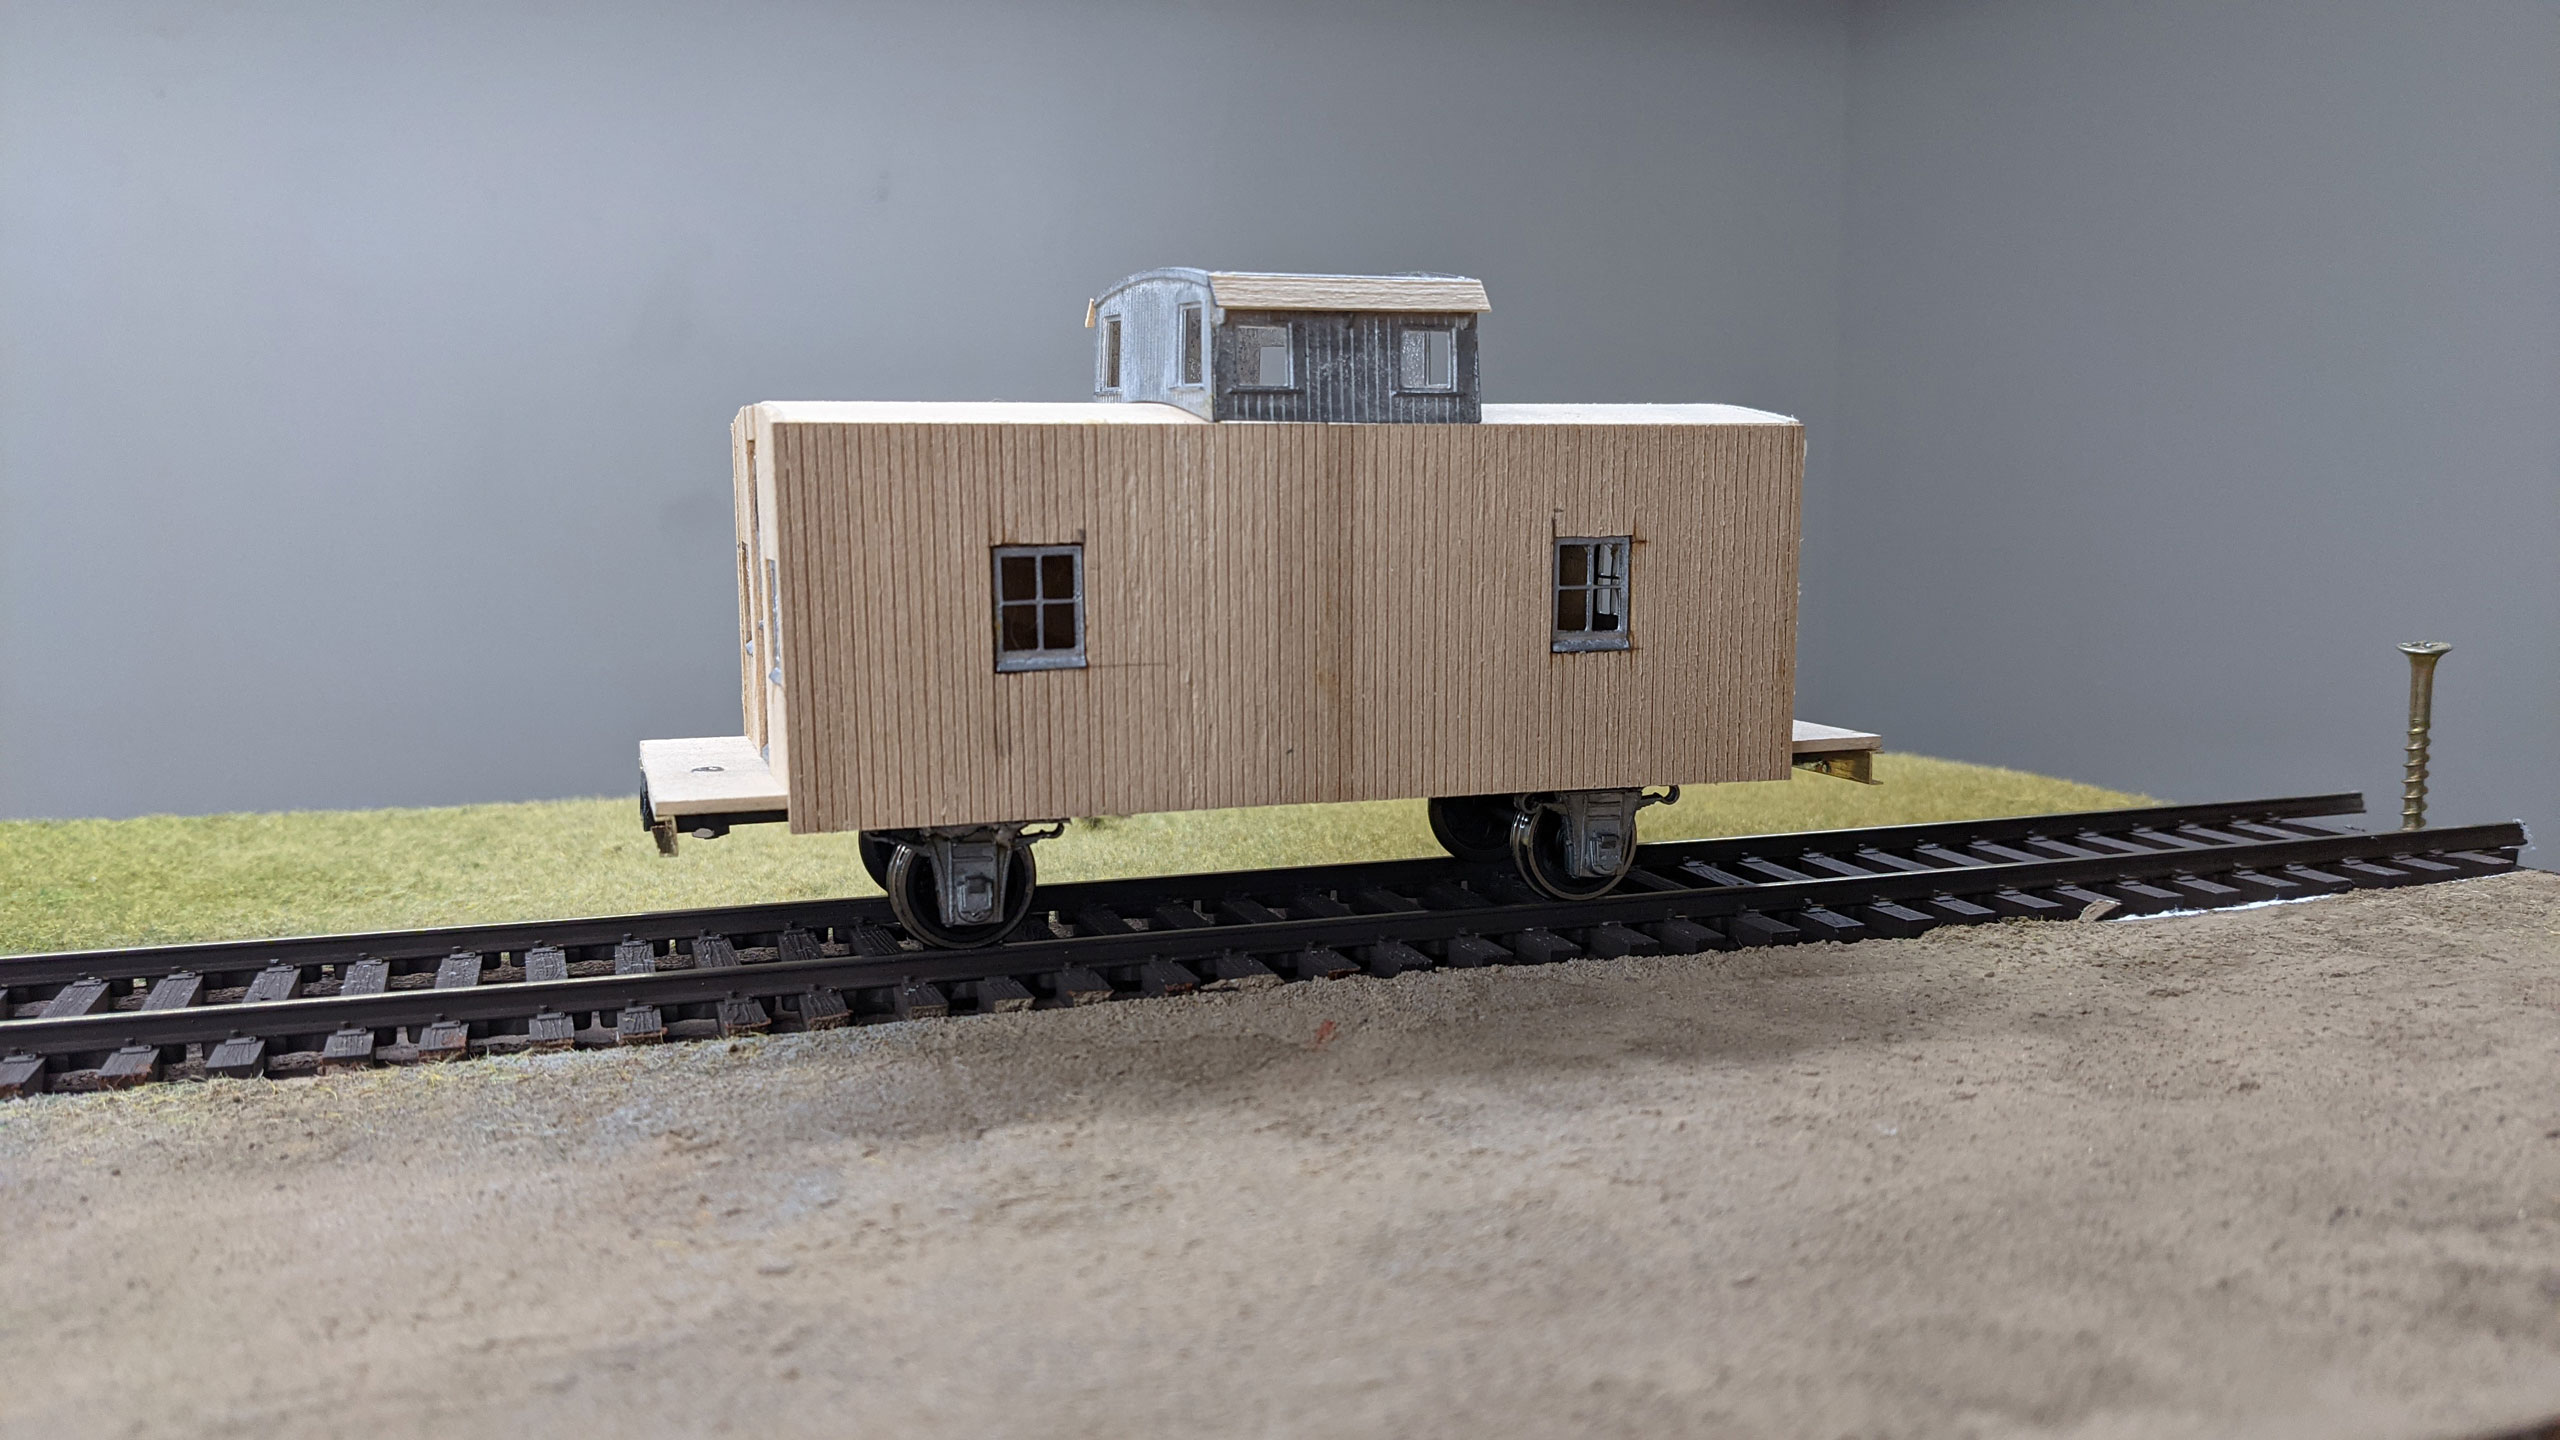
It makes a smart looking little turn of the century train, if I do say so myself.
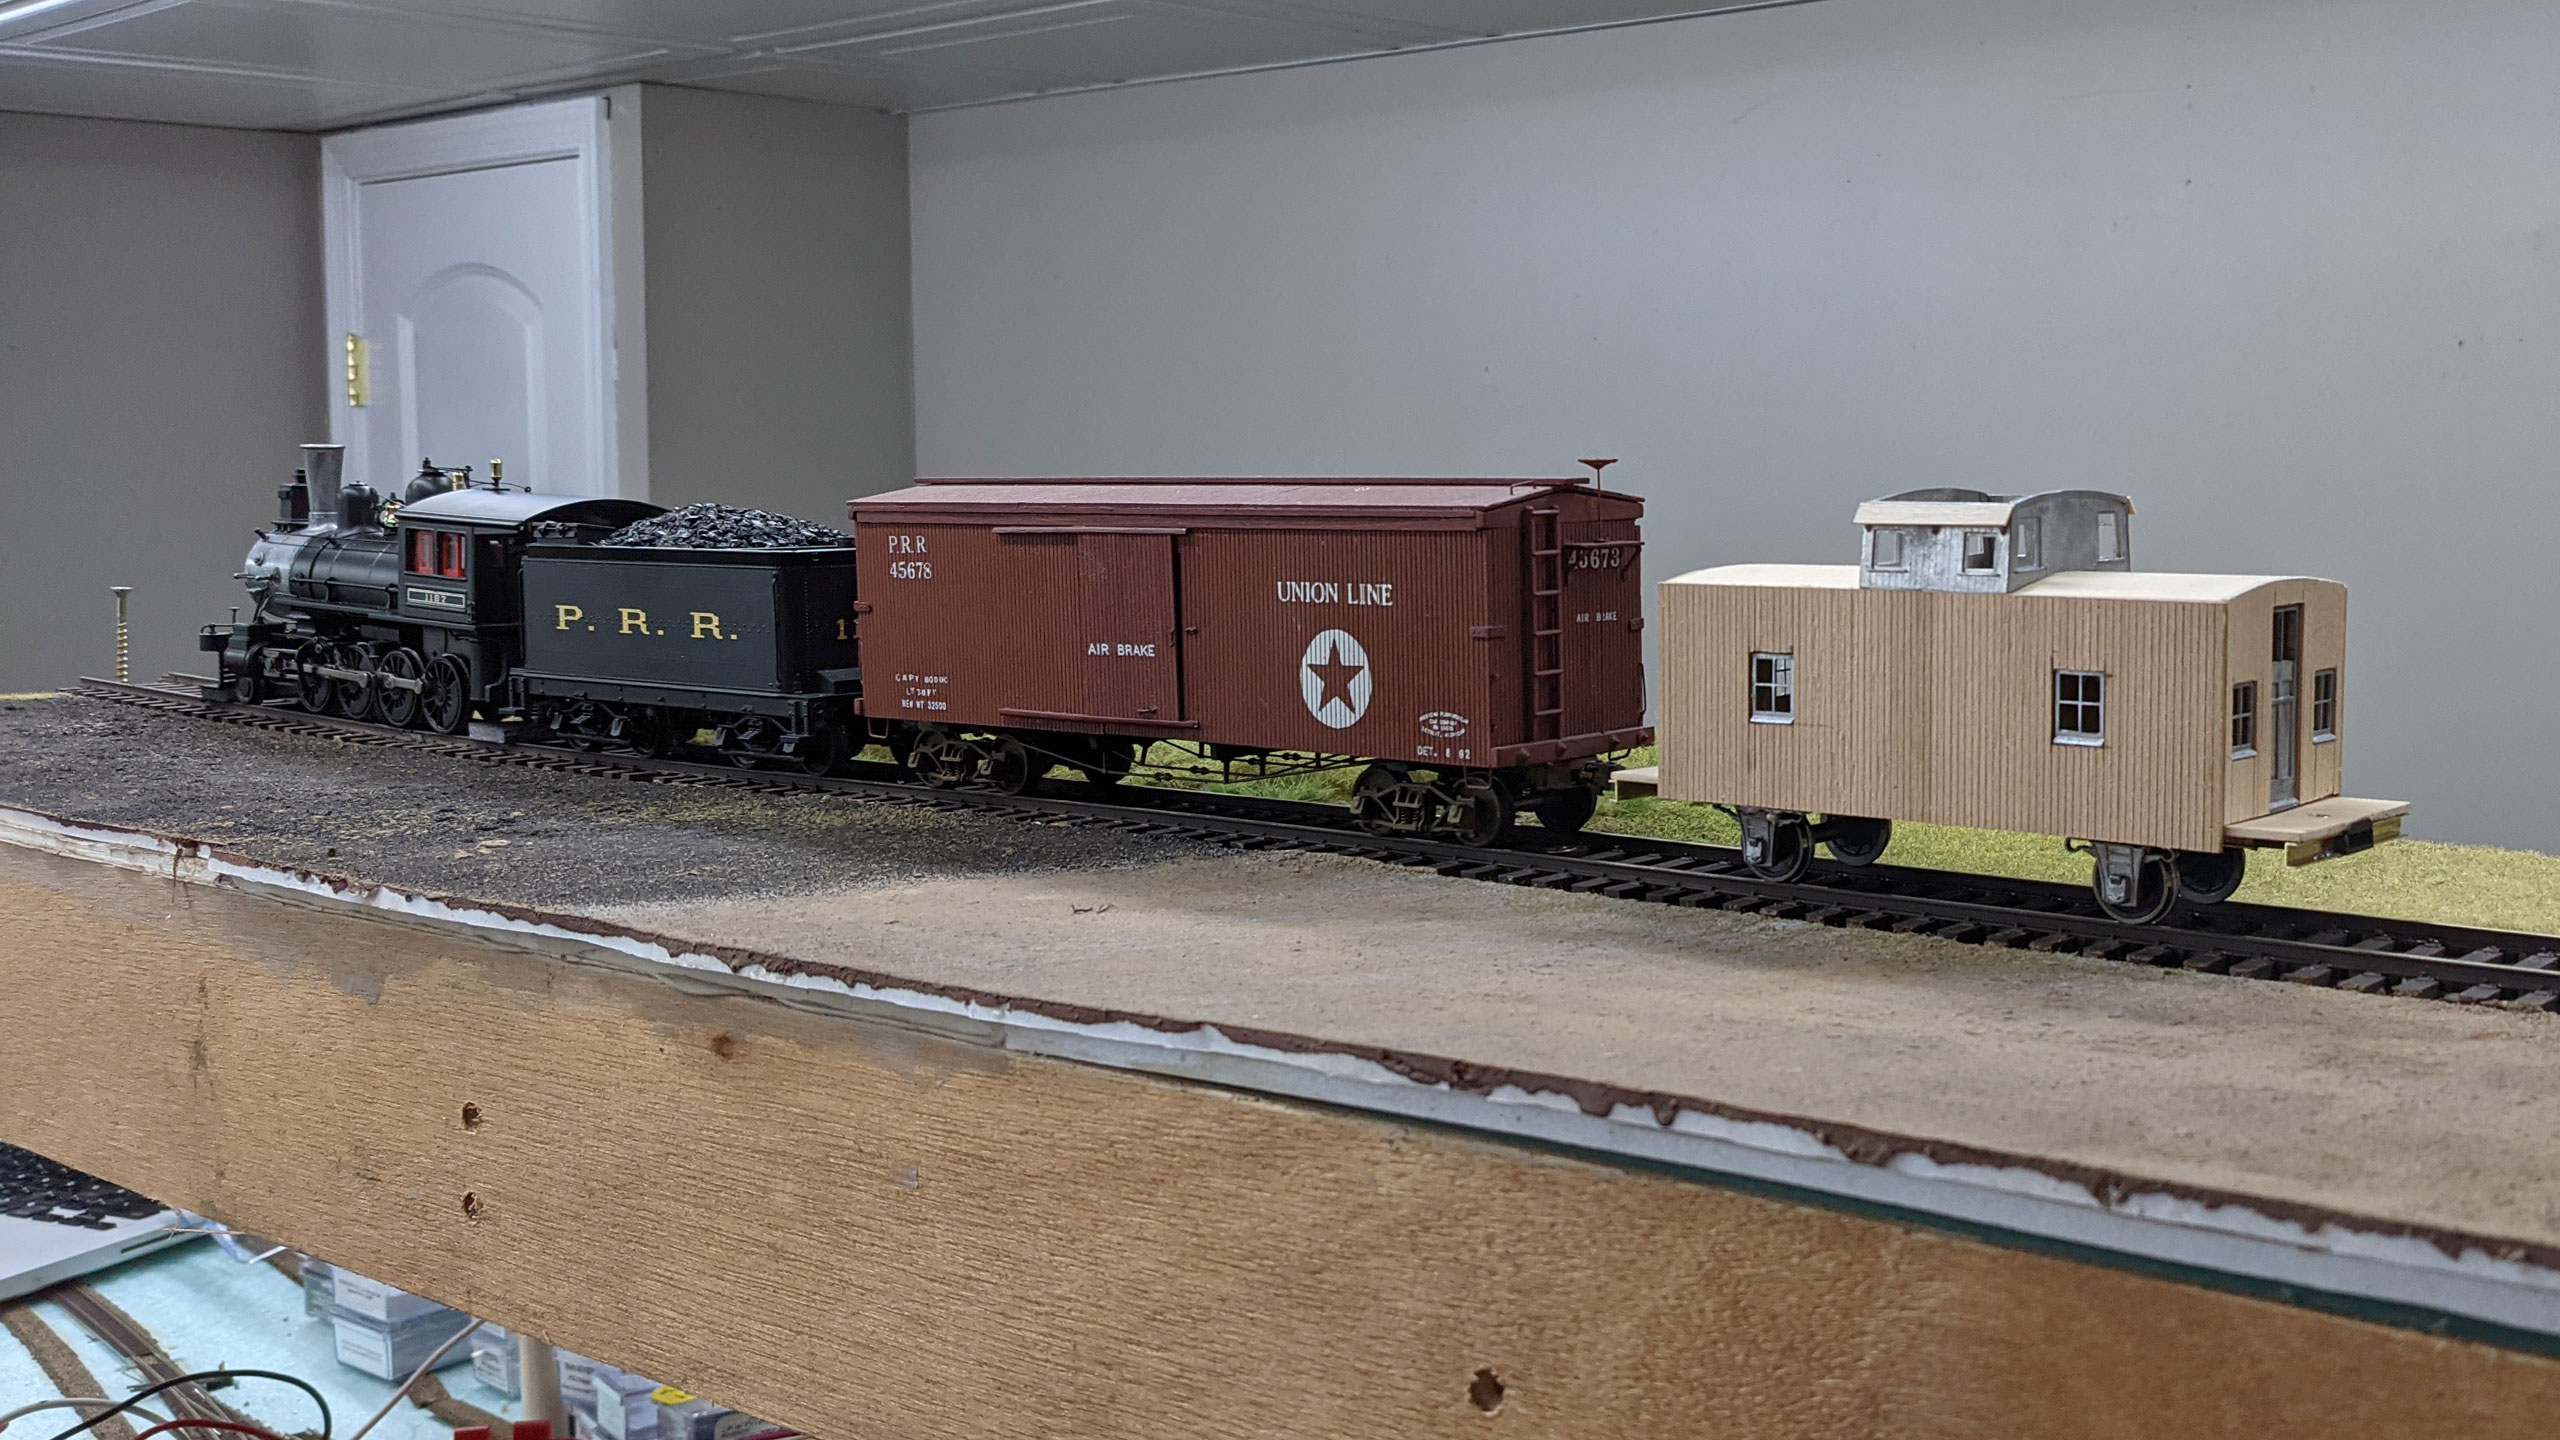
In the next installment of "Ed learns what it means to be a model railroader": how to repair a melted irreplaceable cupola casting. Stay tuned!