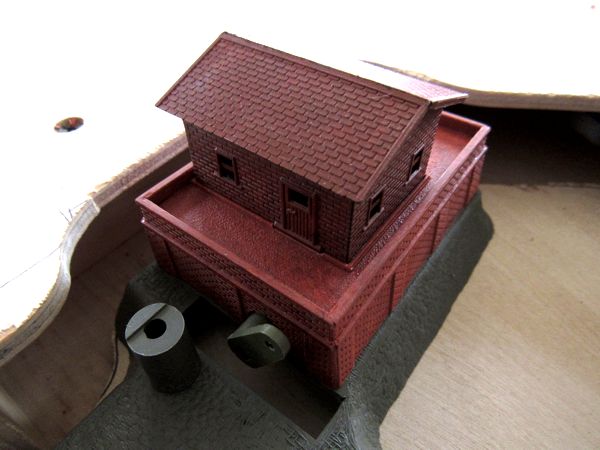
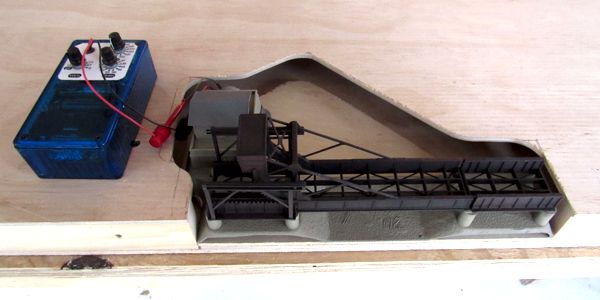
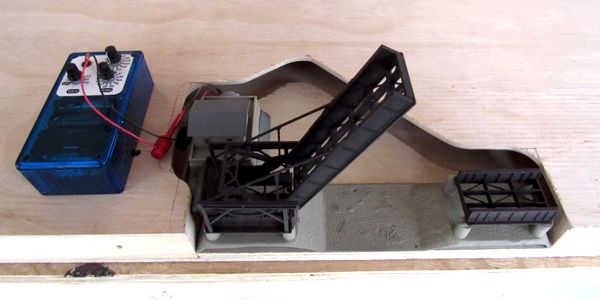
The model is quite faithful to a real Scherzer, examples of which can be found all over the world. The only major deviation was an enormous control cabin foundation, which was necessary as it covers the drive mechanism.
Although I've kept several of these kits on hand for years as kitbashing fodder, this marks my first opportunity to use one on a layout complete in its original and fully-functional form. I had to motorize it myself, however, as genuine motorizing kits are rarer than hen's teeth. It's just as well, because the original drives were godawful noisy!
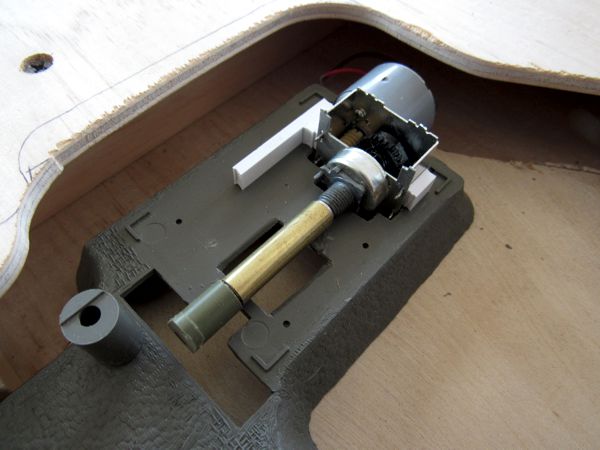
I began by scrounging a replacement drive from my generous stockpile of motors, gears and other assorted mechanisms scavenged from old VCRs, floppy disc drives, and other obsolete tech. The unit was actually once a volume control for an old 1980s-era stereo, where the remote control ran a motor that physically turned the volume knob. It was the perfect device: a double-worm drive that runs slowly and silently. I used telescoping brass tubing to connect the plastic bridge crank to the aluminum potentiometer shaft.

I also replaced the plastic connecting link between the bridge and the crank with a piece of brass rod because the plastic one is bulky and obvious. Meanwhile, I assembled the drive motor cover, or as I refer to it, the "bunker"—it looks as though it was built to house munitions for a coastal fort. Since the new mechanism is smaller, I shortened the bunker by over a quarter of an inch to make it less massive-looking; I also flipped it around so the control cabin was closer to the bridge. The building will remain removable to provide access to the mechanism. It's powered by its own supply, consisting of two AA batteries.

With most everything assembled, painting came next. I hit the drive cover with a pale concrete color in the hopes it would kind of fade into the background, while I made the bridge classic rusty black.


The final assembly step was wiring the moveable section of track just before installing it on the bridge. According to the instructions, the wires were supposed to have already been attached, yet they were loose in the box, which meant modelers had to solder them to the undersides of the rails (not a big deal for me, but not a trivial thing for an average modeler to do). The wires were also bright colors, so I used fine black wire from my larder. Once everything was assembled and functioning, I liberally applied black and rust washes.