Time to turn attention to something boring but really important.
The Gearbox.
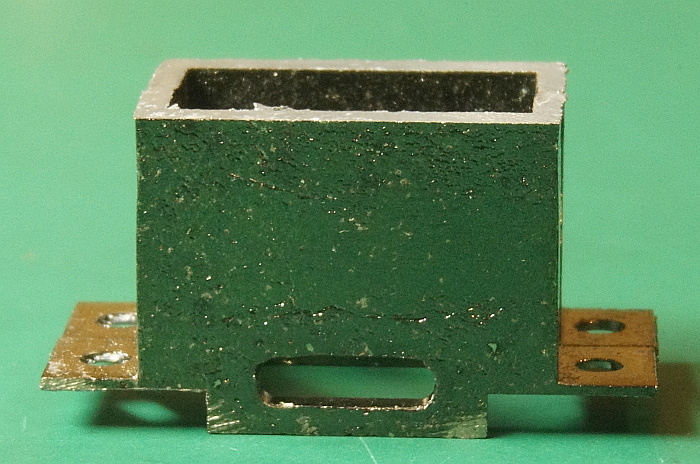
This gearbox is quintessentially Kumata. Every KMT loco except the Centipede uses some variation of this 2-piece gearbox. (in fact the Centipede would have been an outstanding loco if they HAD used this gearbox, instead of the piece of cr@p that it is-- but that is the subject of another thread.)
One of the things that is a little different about this new loco is that KMT plated the gearbox.
I can only guess, but maybe it was because the metal is (or is similar to) Zamac- which might degrade with time. After all my research into KMT locos and studying all but one, I have observed that the 1983-84 locos do indeed sometimes have some Zamac degradation. The other locos... not so much.
But there is a problem with this idea of plating which seems like a good idea....
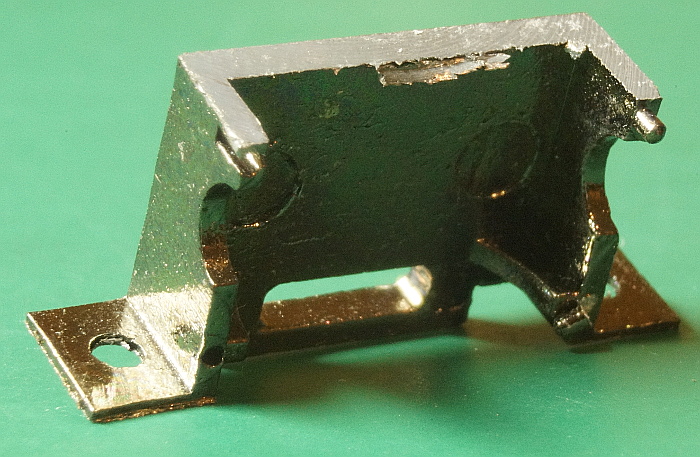
Flash! And sharp edges. Study this photo carefully and look!
So I found that a pretty large amount of work was required to clean up this mess.
The worst edges are at the top where the box was plated first and THEN cut.
I filed the edges at a more rounded angle, being careful to get rid of all flash.
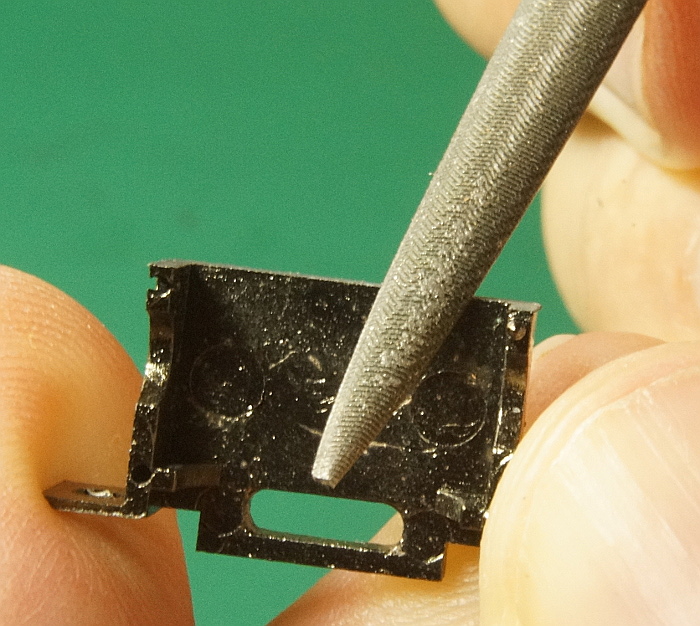
In fact I filed and rounded just about every edge-- at least on the outside. Even the screw holes could have some crud that needed removing.
Now, there is one more thing I do to KMT locos for my sanity. This has no bearing on the performance of the loco..... but since for most of this year I have assembled/disassembled/assembled/disassembled Kumata locos over and over again, I discovered that the gearbox can be frustrating to work with because the clearances with the main loco frame are so tight.
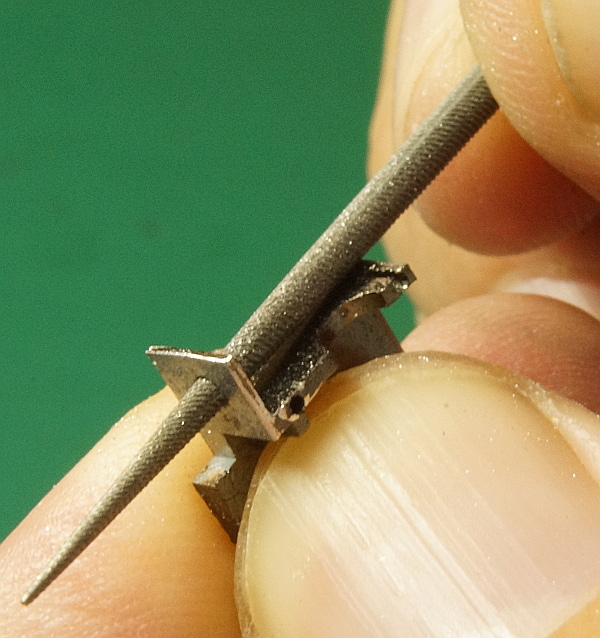
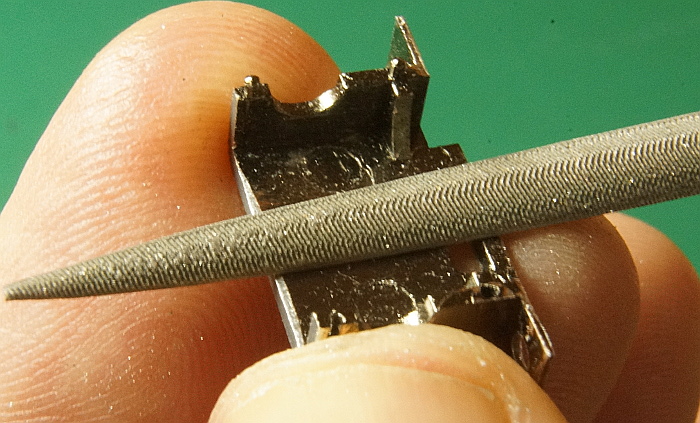
So a little trick I devised it to file the outer bottom edge at an angle to give me more room to get a gearbox half out (like for removing a truck without removing the headless screw.
I file at somewhere around a 35 degree angle (I'm not sure the exact angle and it doesn't matter. It is just a better angle than in the dead middle- 45 degrees.
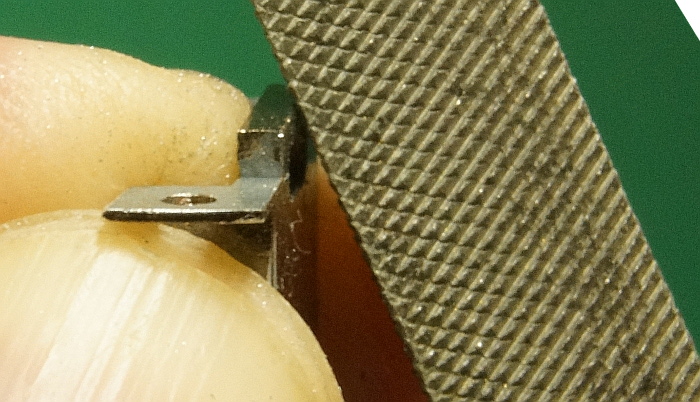
Someone might say--- Whoa! What are you doing?
But the bottom metal piece only has one function- to keep the headless screw retainer from dropping down and the truck falling out. So I can thin it down as long as I leave enough metal to retain the truck.
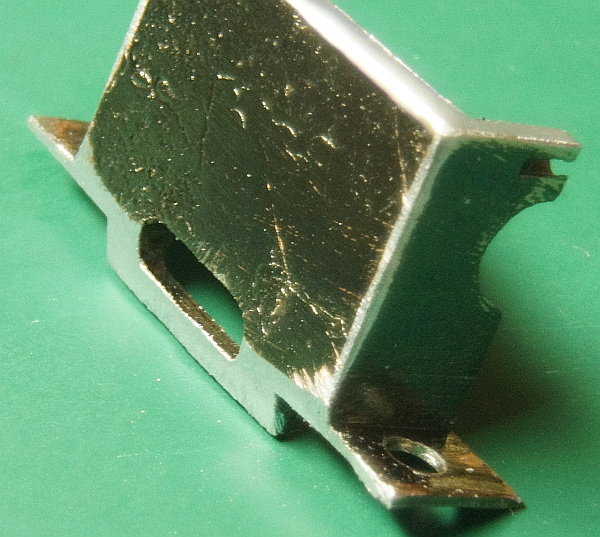
You can see from that shot that it helps to remove just a little bit from the end wings where the screws go.
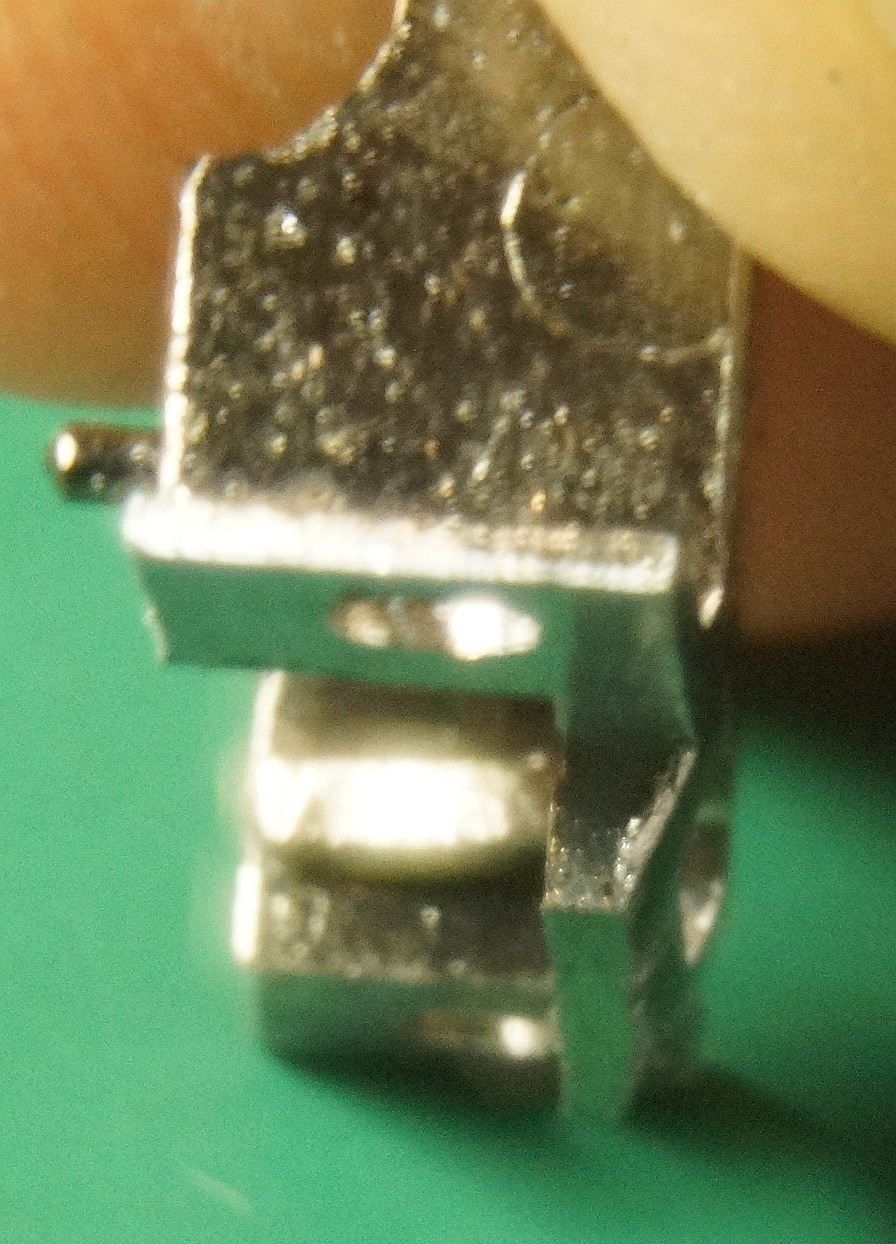
This fuzzy end shot shows you that I have not even removed 50% of the thickness.
Now, since I'm going to all this trouble, I make sure the slot for the headless screw is cleaned out too. Since this is the key MOST important surface, I'm working very lightly, holding the file as level as I can and I'm not trying to remove metal, just smooth over any flash or high spot.
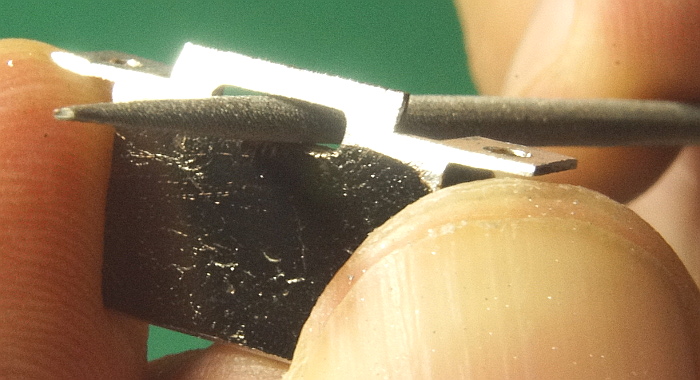
While the inside surface is usually pretty smooth, I go over it too.
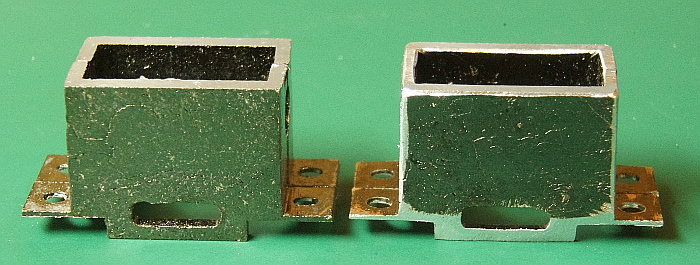
Here is a before and after photo. Admittedly, it is not all that pretty, but it does improve the loco.
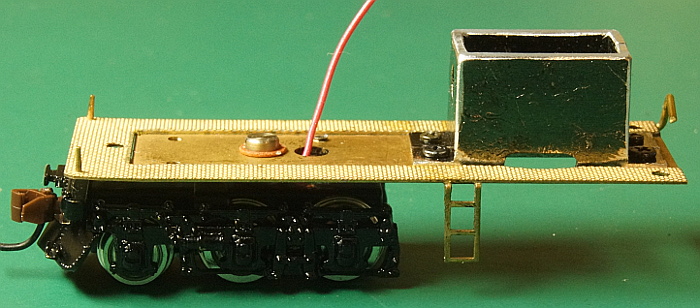
When installing the gearbox, once the screws are set, back them off a bit. Then the whole box can lift just a little so the headless retaining screw can fit in.
Sigh. Getting the headless screw in can be tricky.
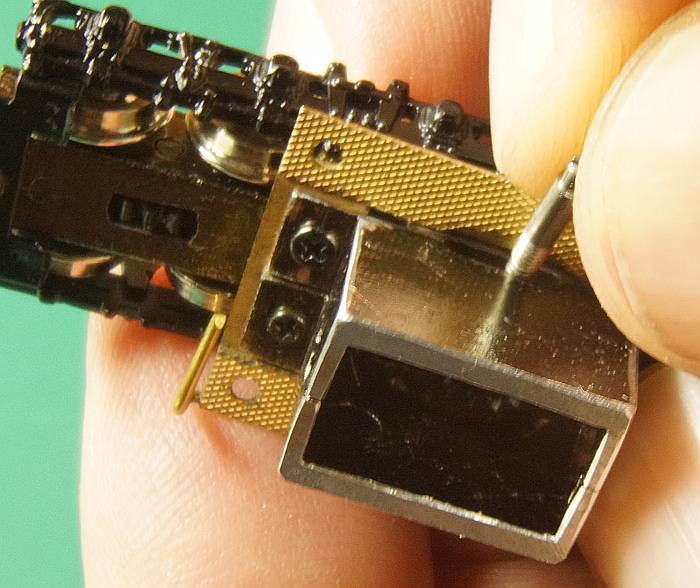
Once it gets started, then it can be screwed in place.
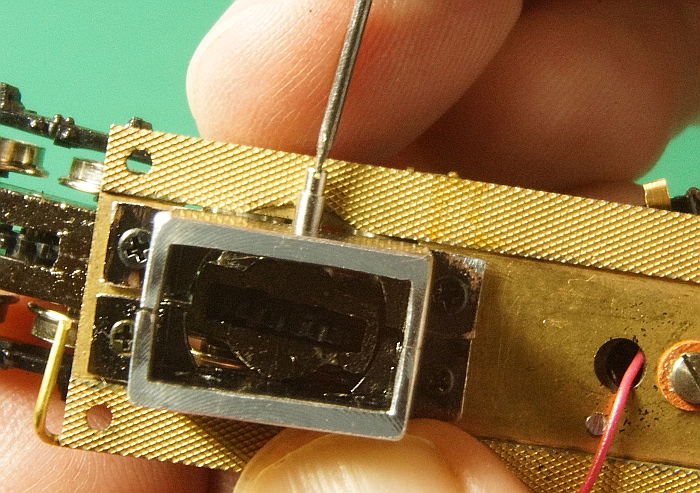
And the screws tightened down.
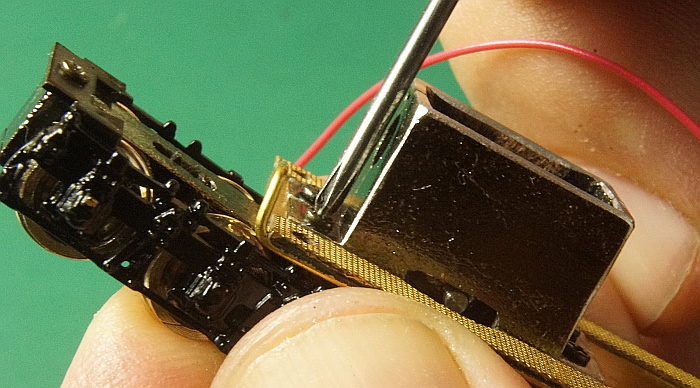
It has taken a lot of work to get to this point.

Next, I can turn my attention to the drive train.